by Steve Tanham
We were on the Helm Crag plateau, about to climb up and beyond the Lion and the Lamb rocks to reach the start of the ridge. When you’ve just done a steep climb, it’s natural to feel that you’re ‘at the top’. In our case, this assumption was to prove expensive…

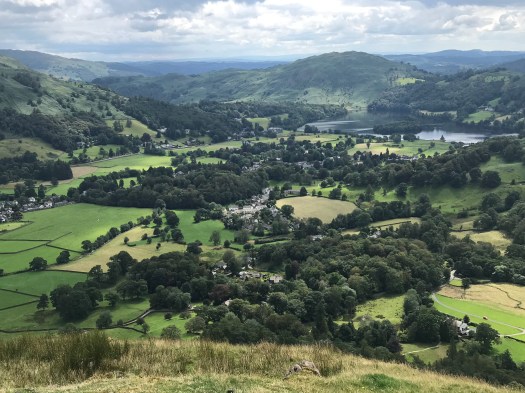
It was time to say goodbye to the glorious views of Grasmere – though we were to get one last unexpected view later in the walk.
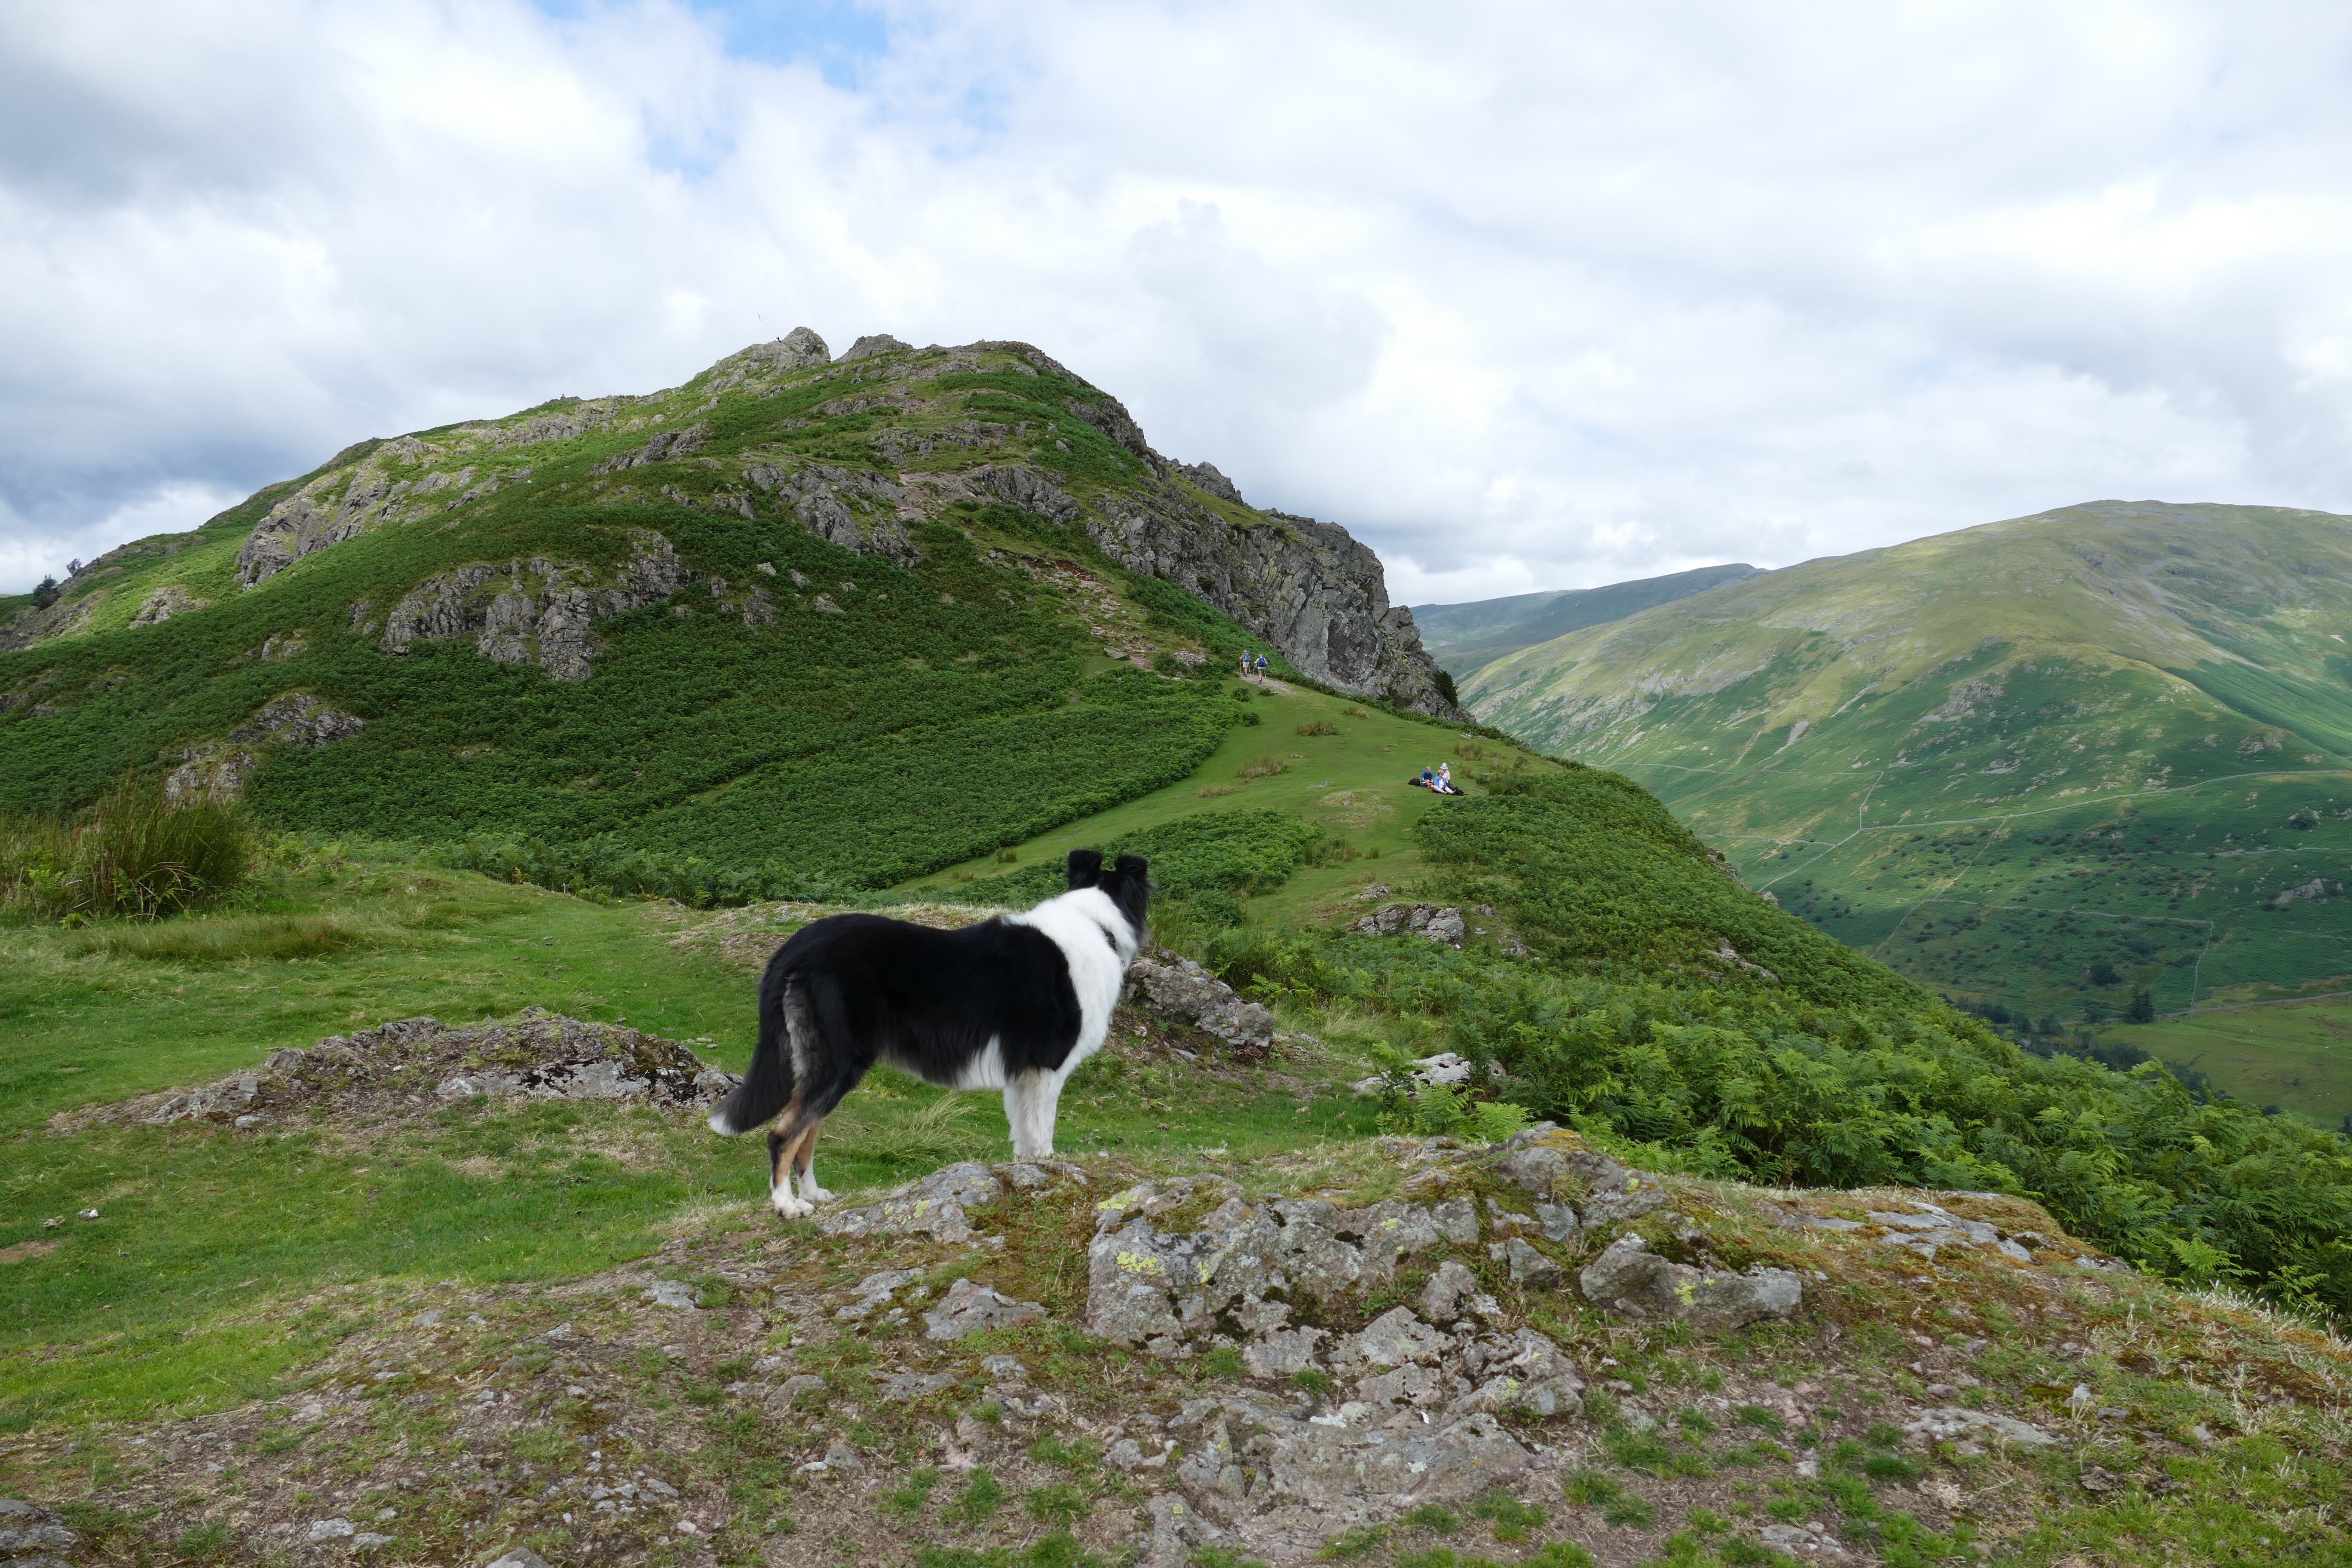
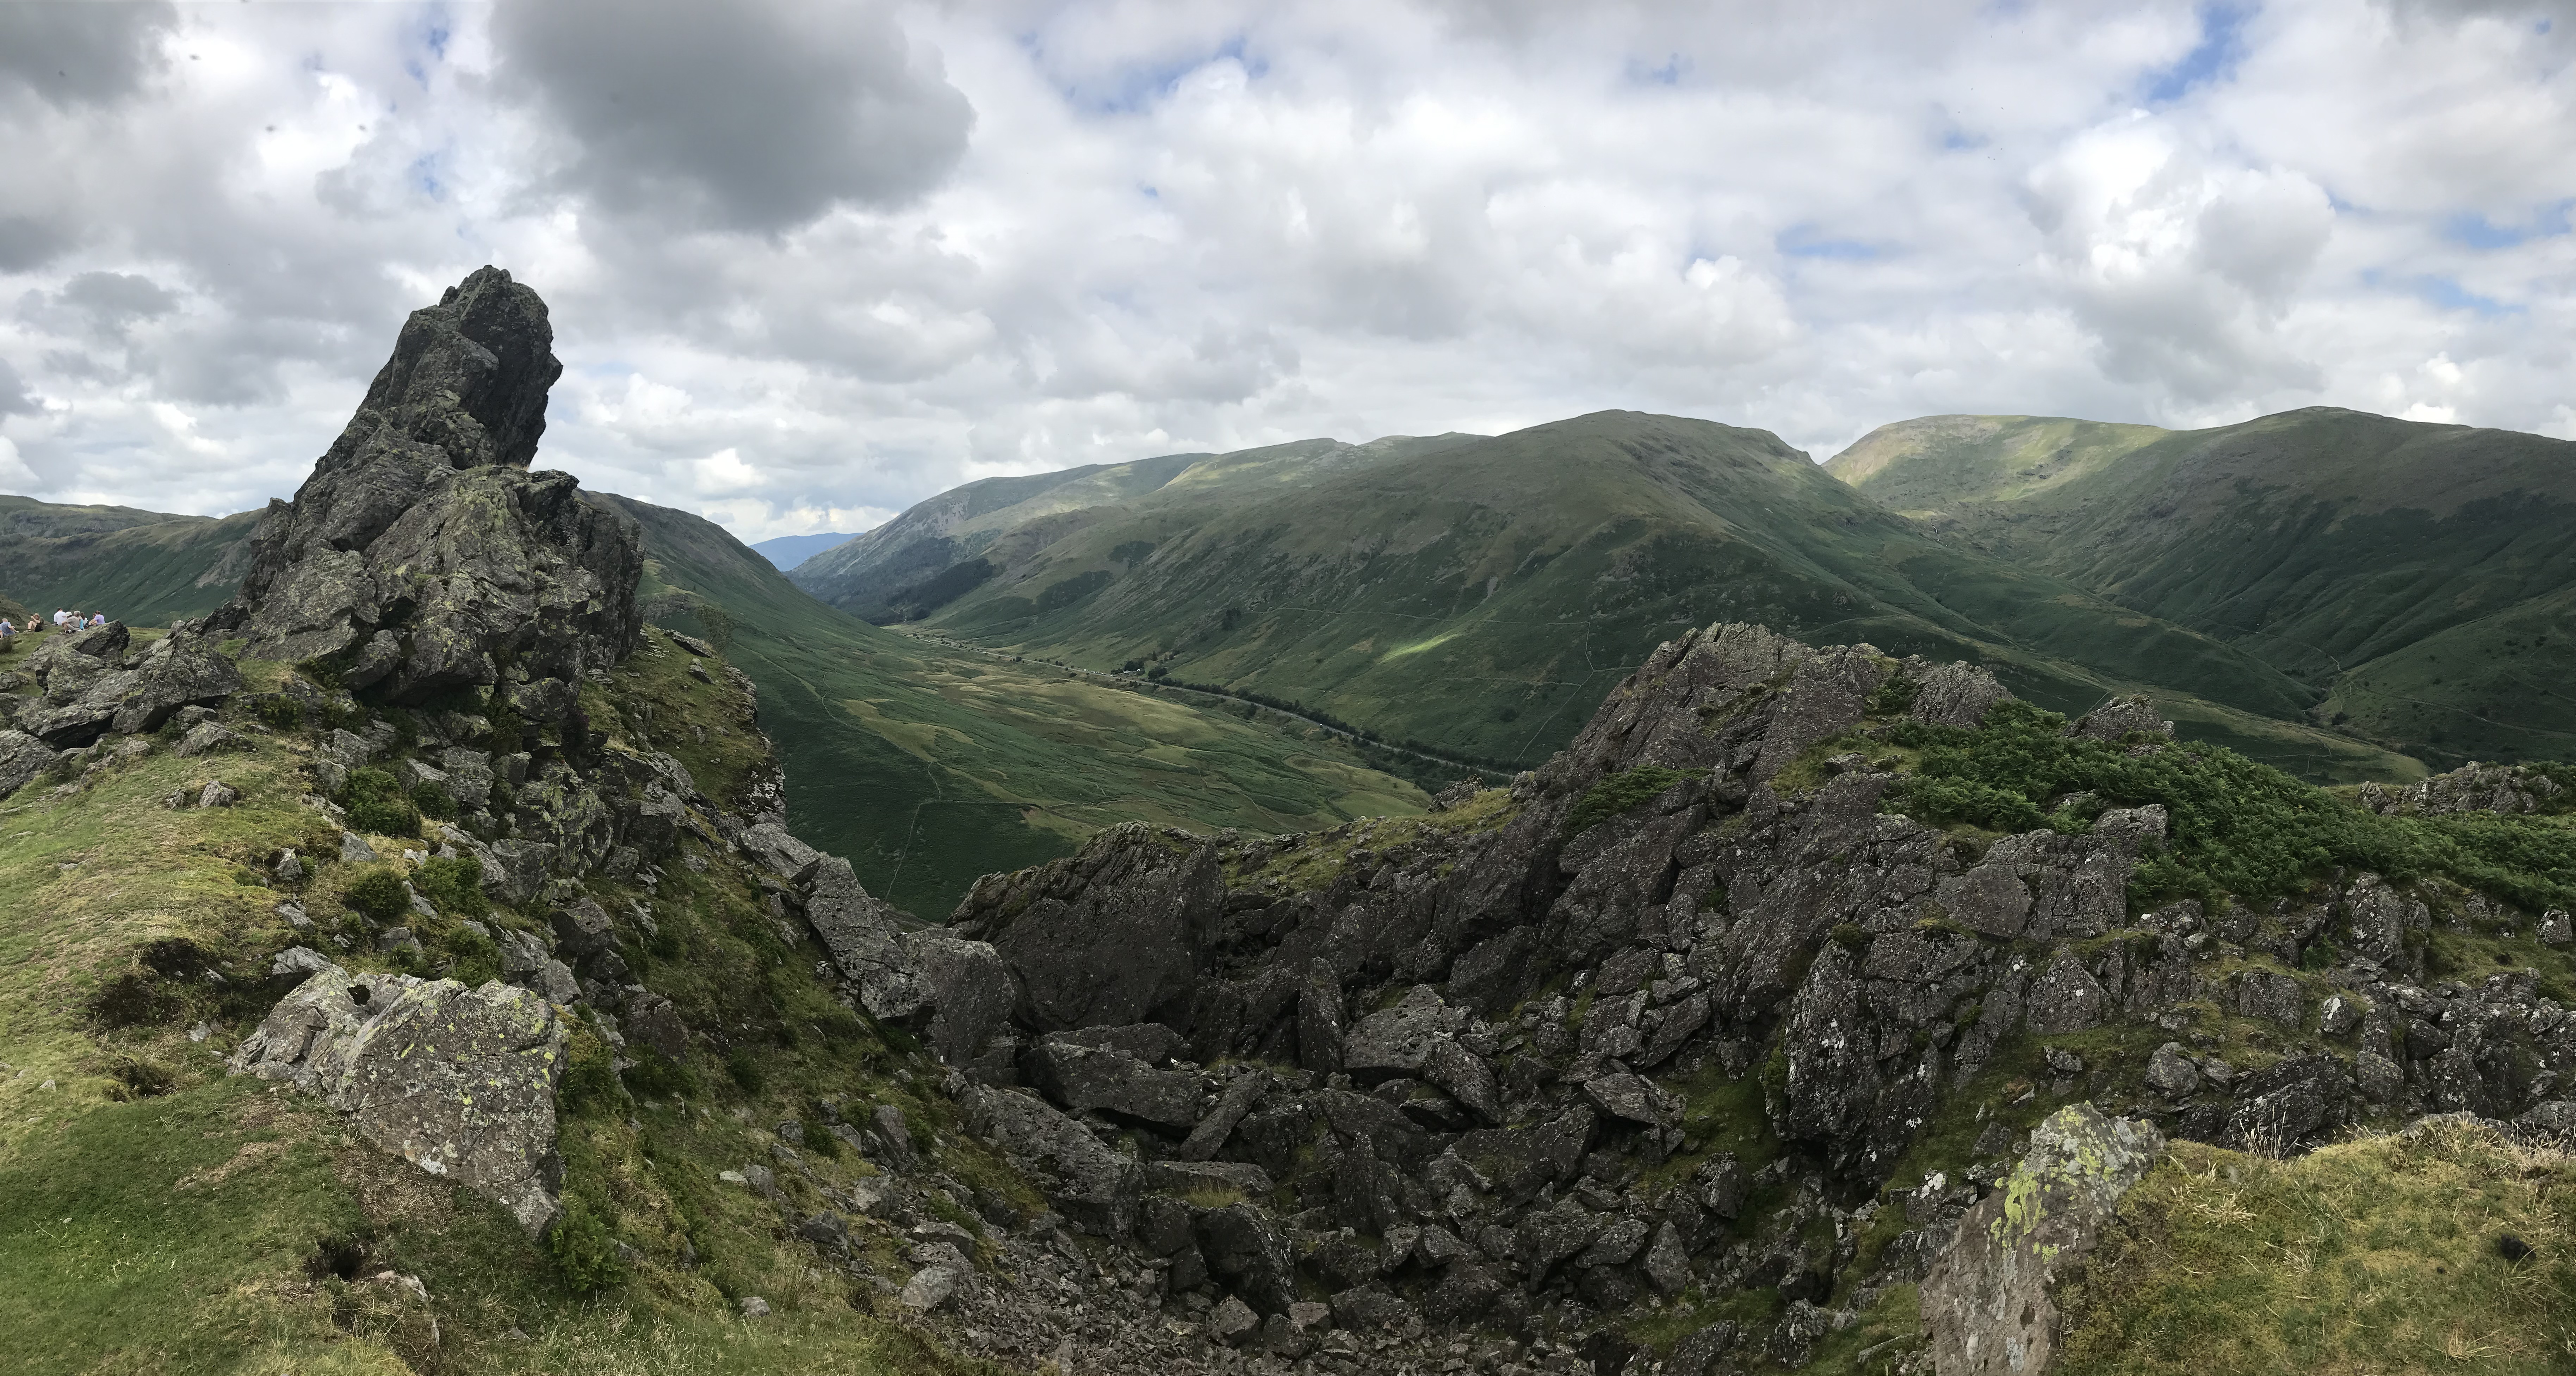
Helm Crag lies at the southern end of a long ridge. My simple picture, above, shows its location. Helm Crag is the point at which the photograph below, was taken. Our Collie dog, Tess, is looking at the start of the path which climbs up and along the ridge.
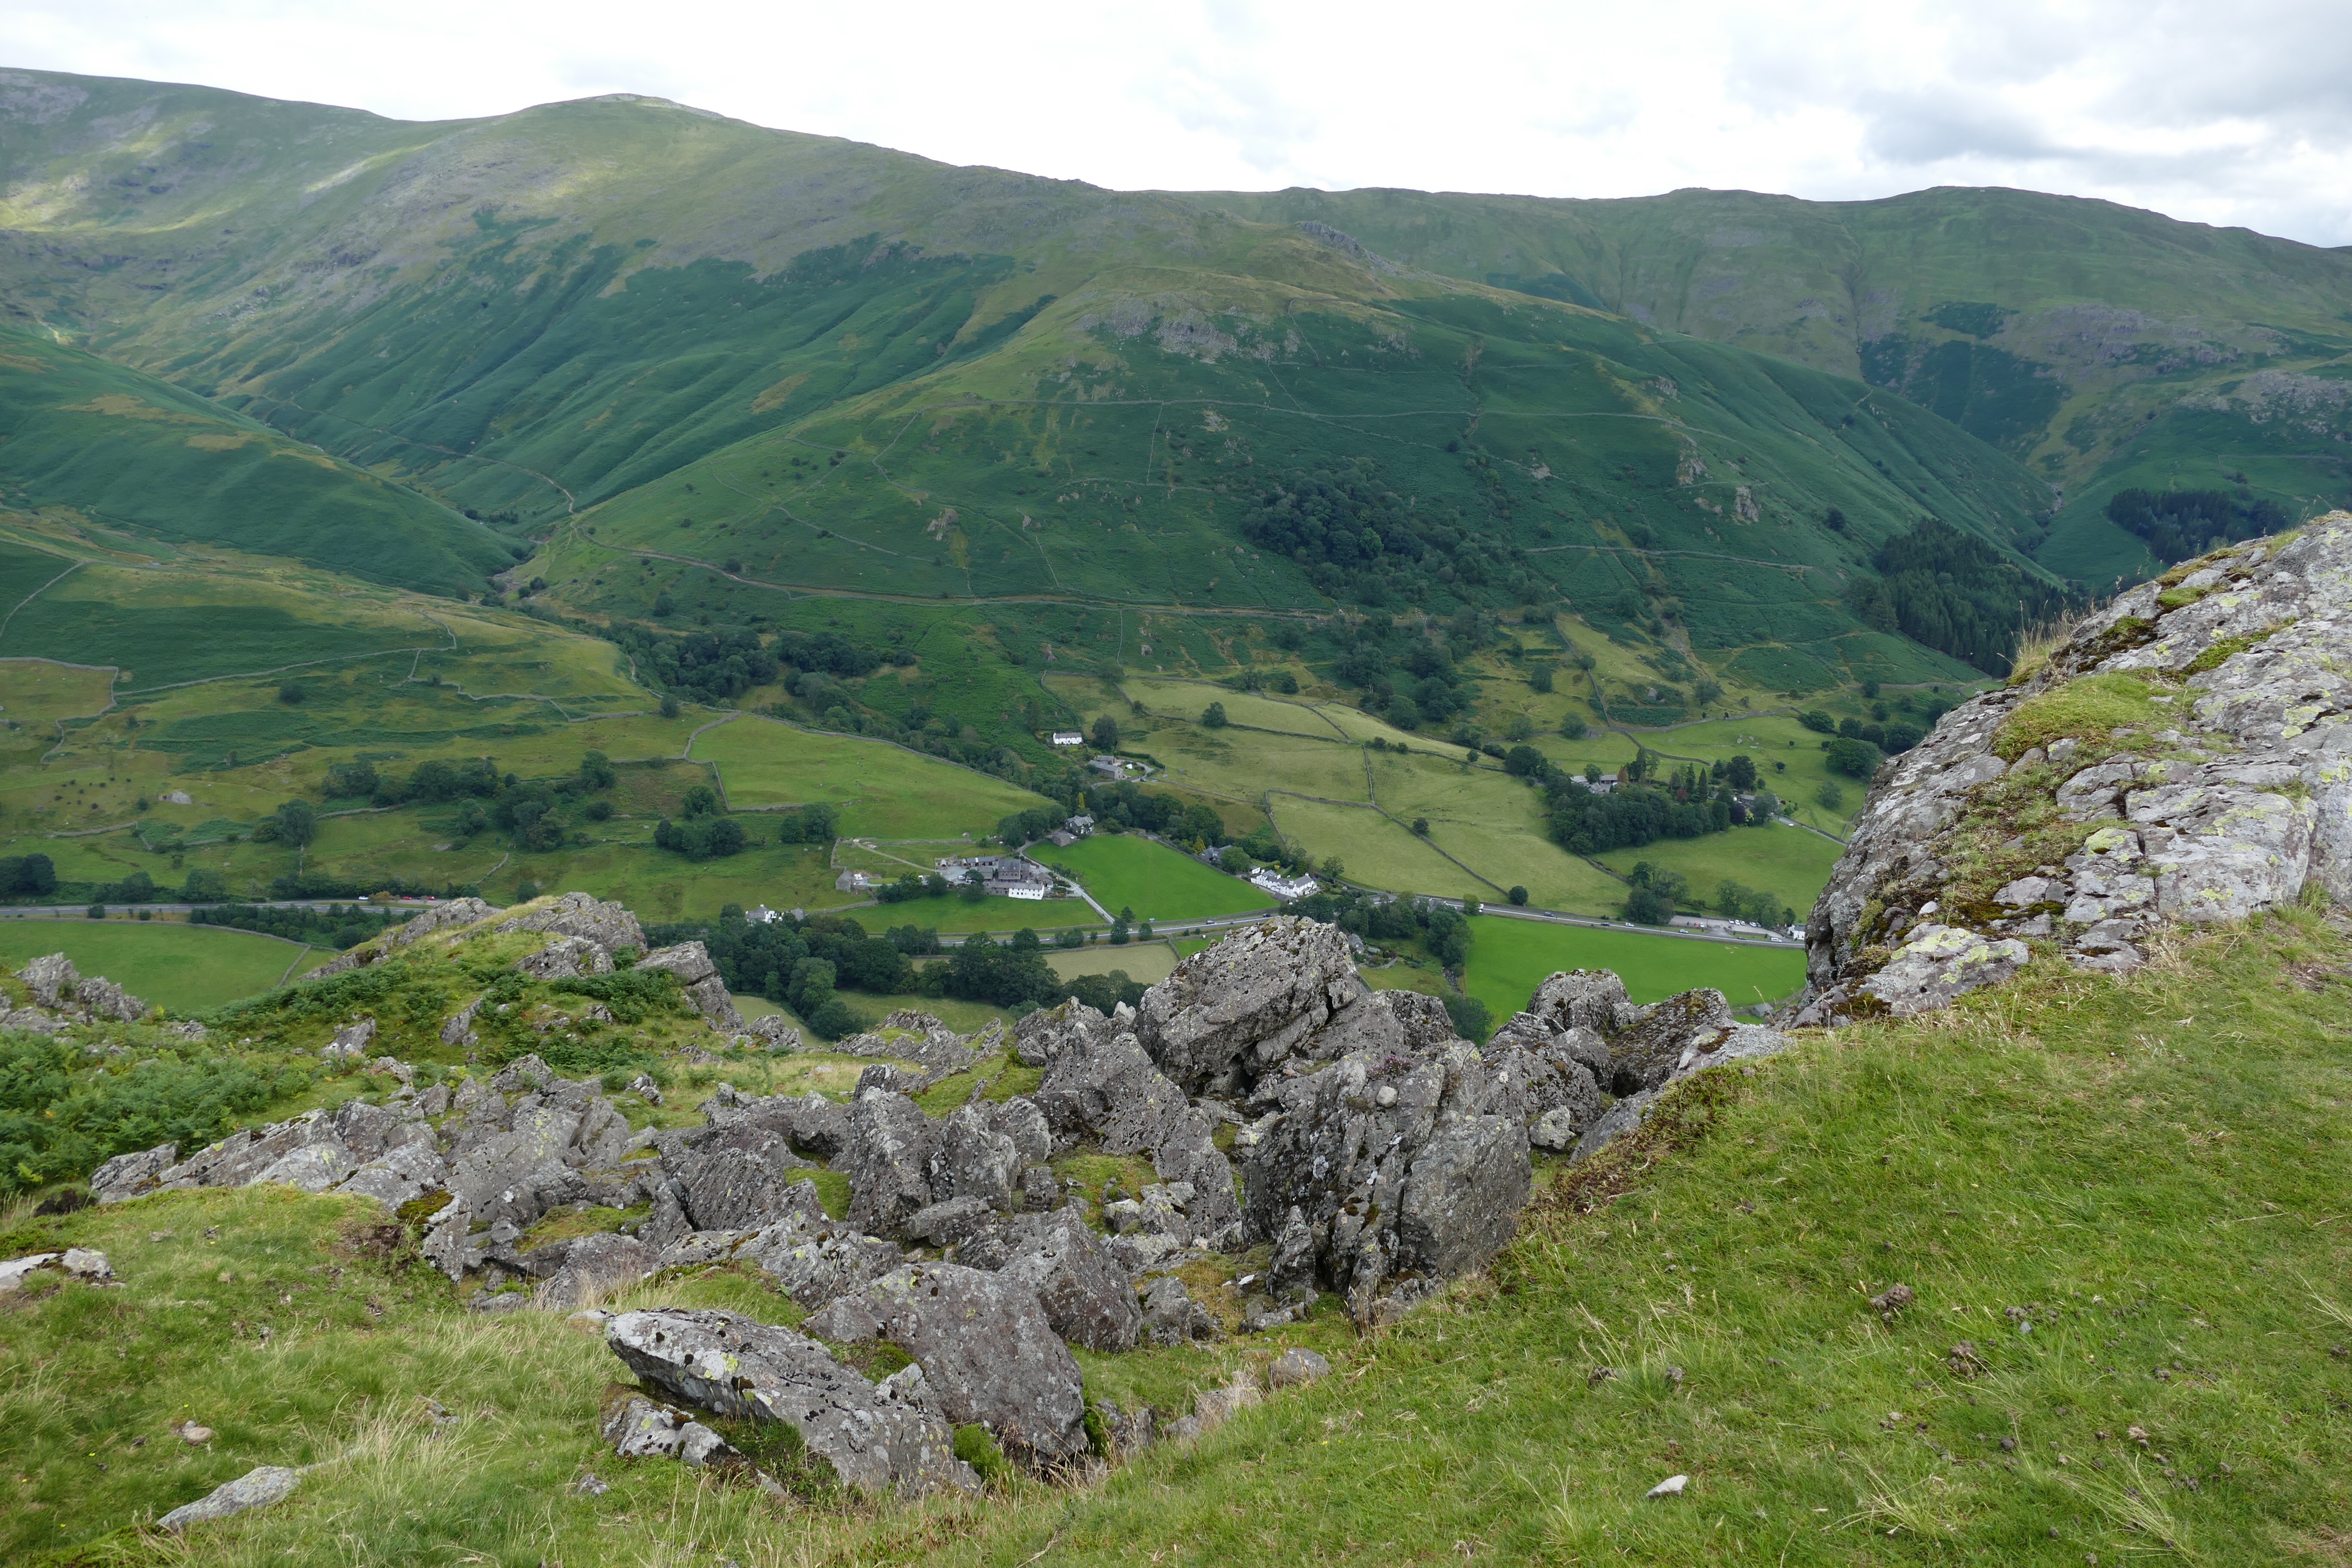
The path up to the ridge is quite a scramble – and very steep. One of its pleasures is a view of the A591 – the main road between Windermere and Keswick. Once at the top, the landscape changes dramatically. Gone is the gentle basin filled with the bright green of a grassy plateau, to be replaced with the undulating and rocky surface of a different world.
Once we had reached the ridge at Helm Crag peak, we faced a stark choice: we could take the footpath to the left (orange on the drawing) and make the quick descent to the bridge over Easedale Beck – shown below at the end of a long lens – or we could carry on along the top of the ridge, taking in another two of the famous ‘Wainrights’ peaks – a term that refers to a set of hand-drawn and hand-illustrated guides to hundred of walks in the Lake District.
We choose to risk the ridge, knowing that it would take us longer than leaving the high-ground at Helm Crag and descending to the bridge below. What we didn’t know was how much longer the ridge walk was going to take…
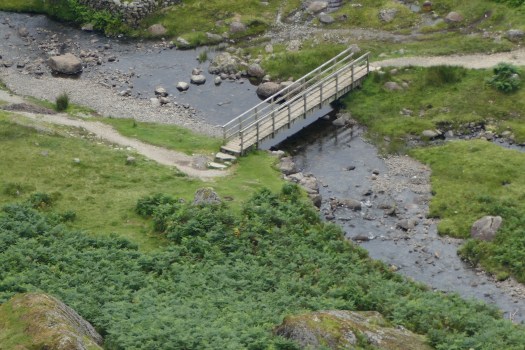
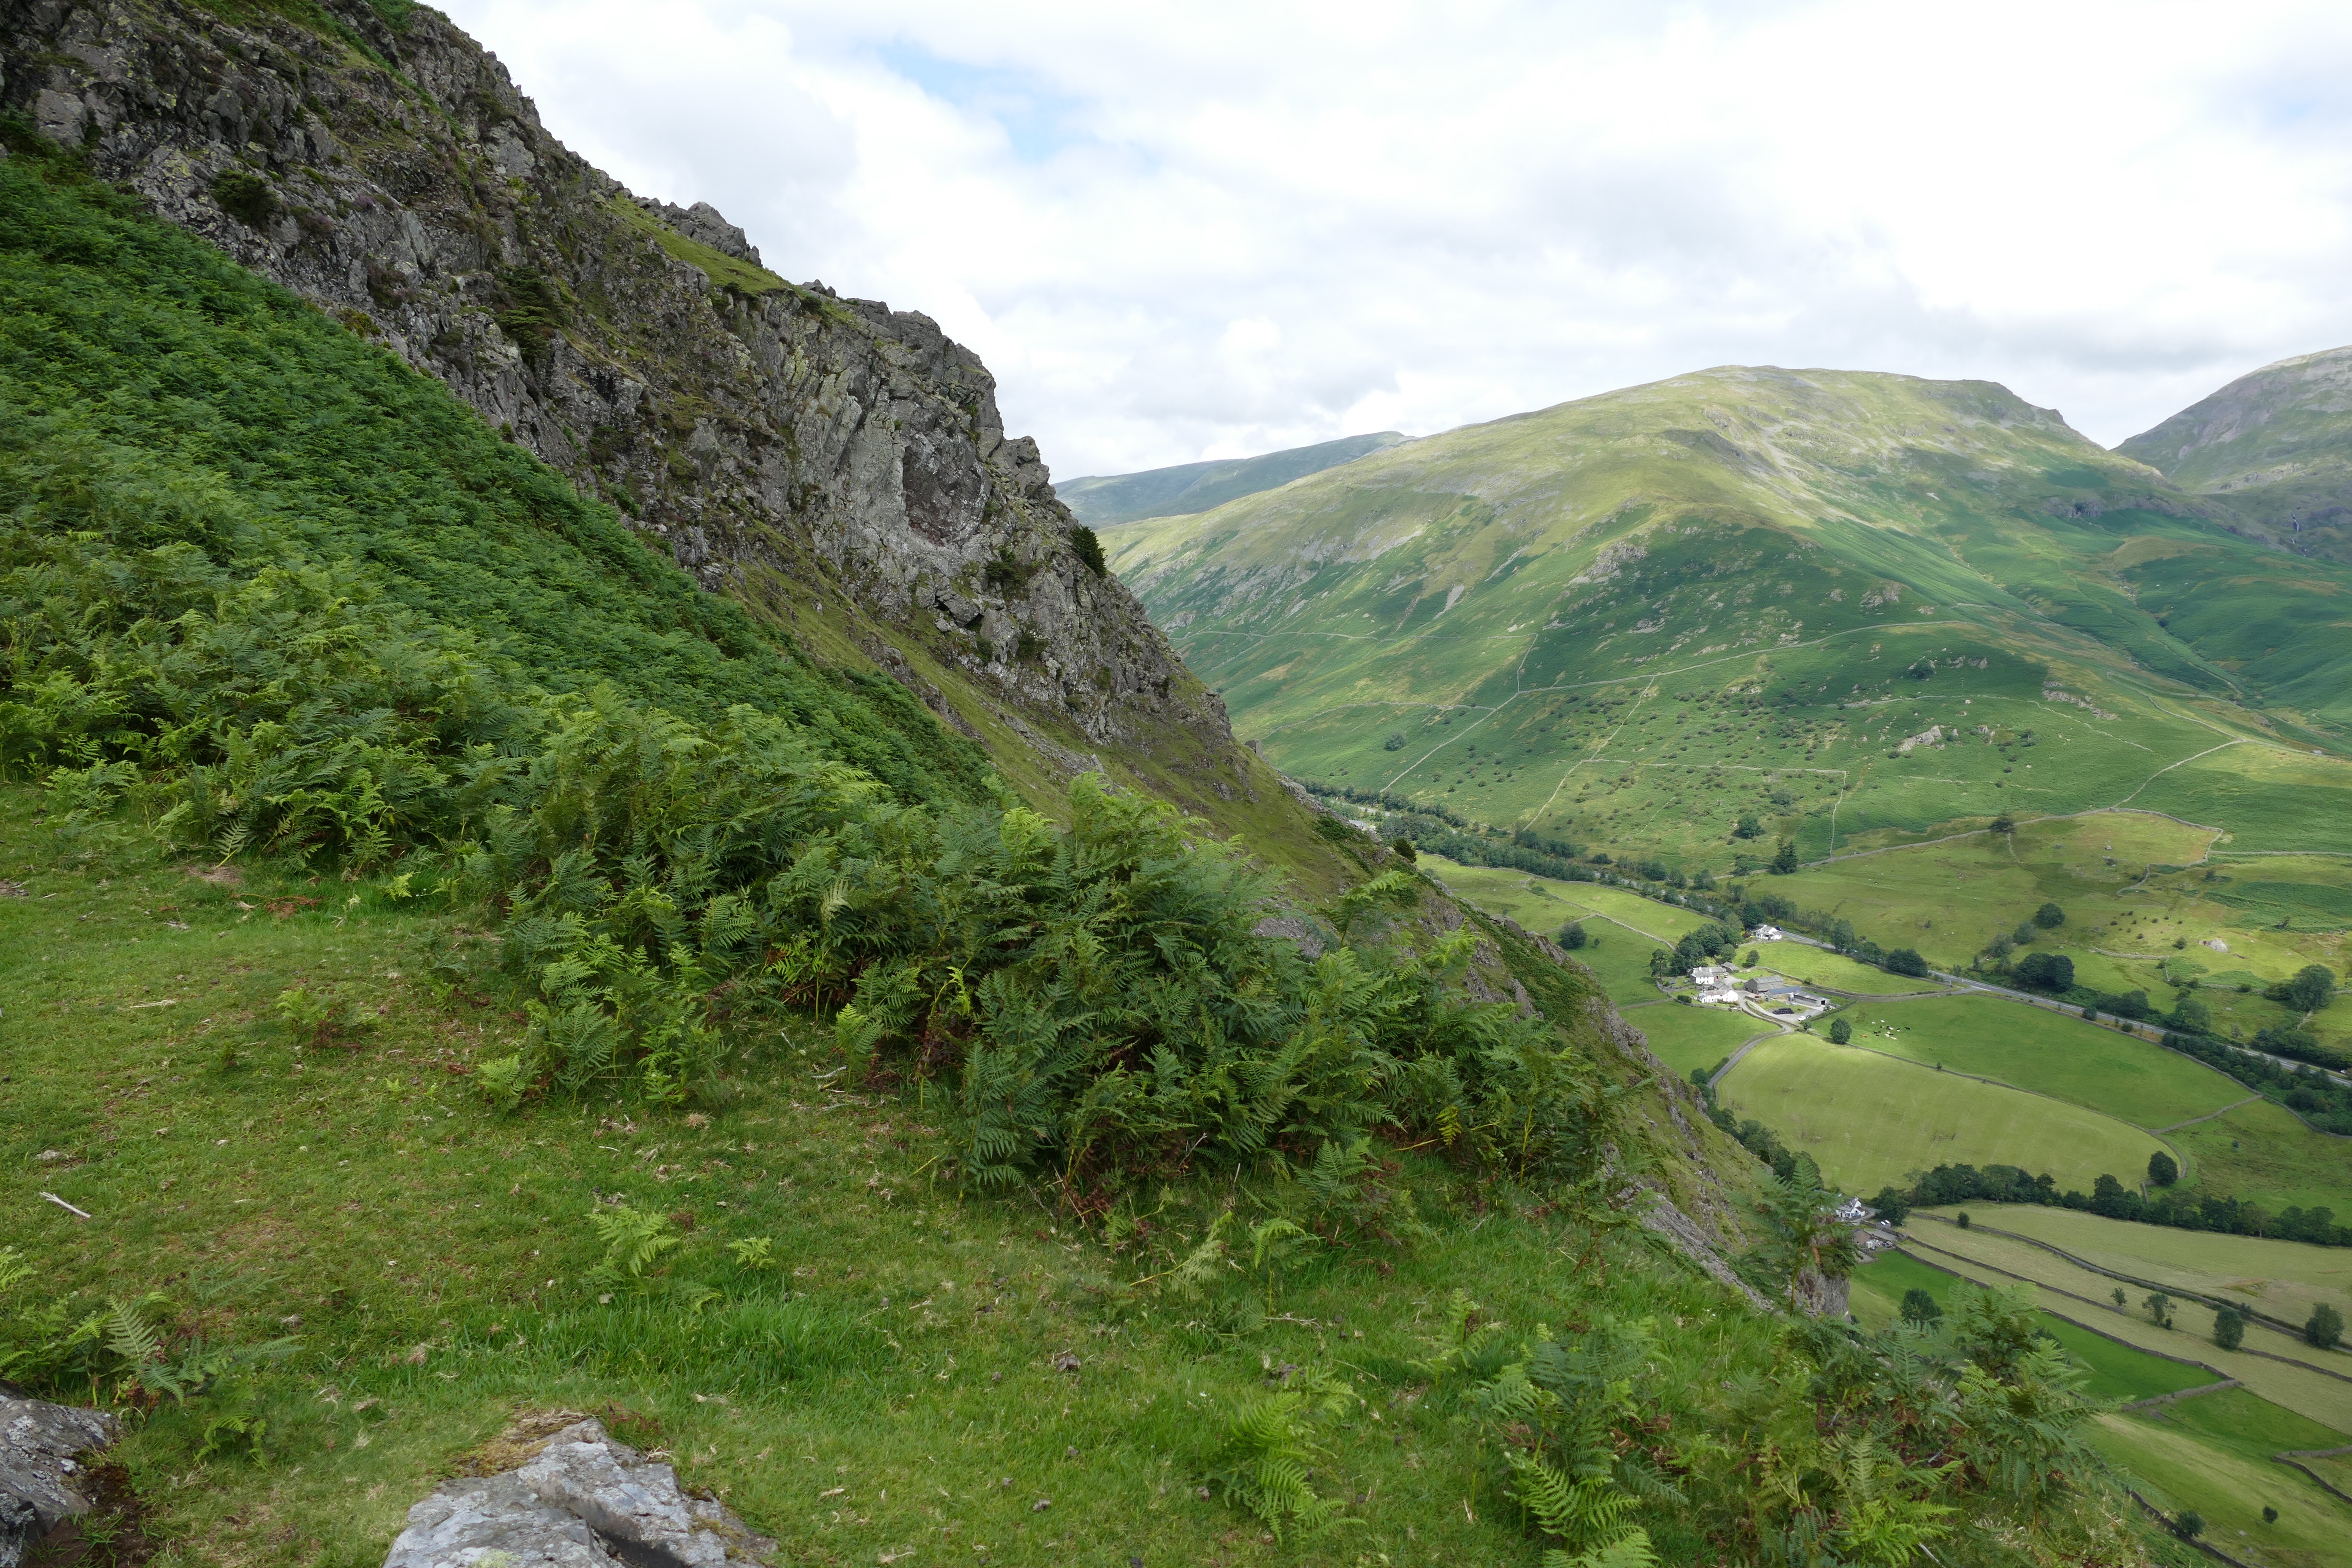
I pointed the camera at the vital bridge hundreds of feet below. The long lens made it look much closer than it was. But it was to be a lot more distant before we had the chance to change direction, again….
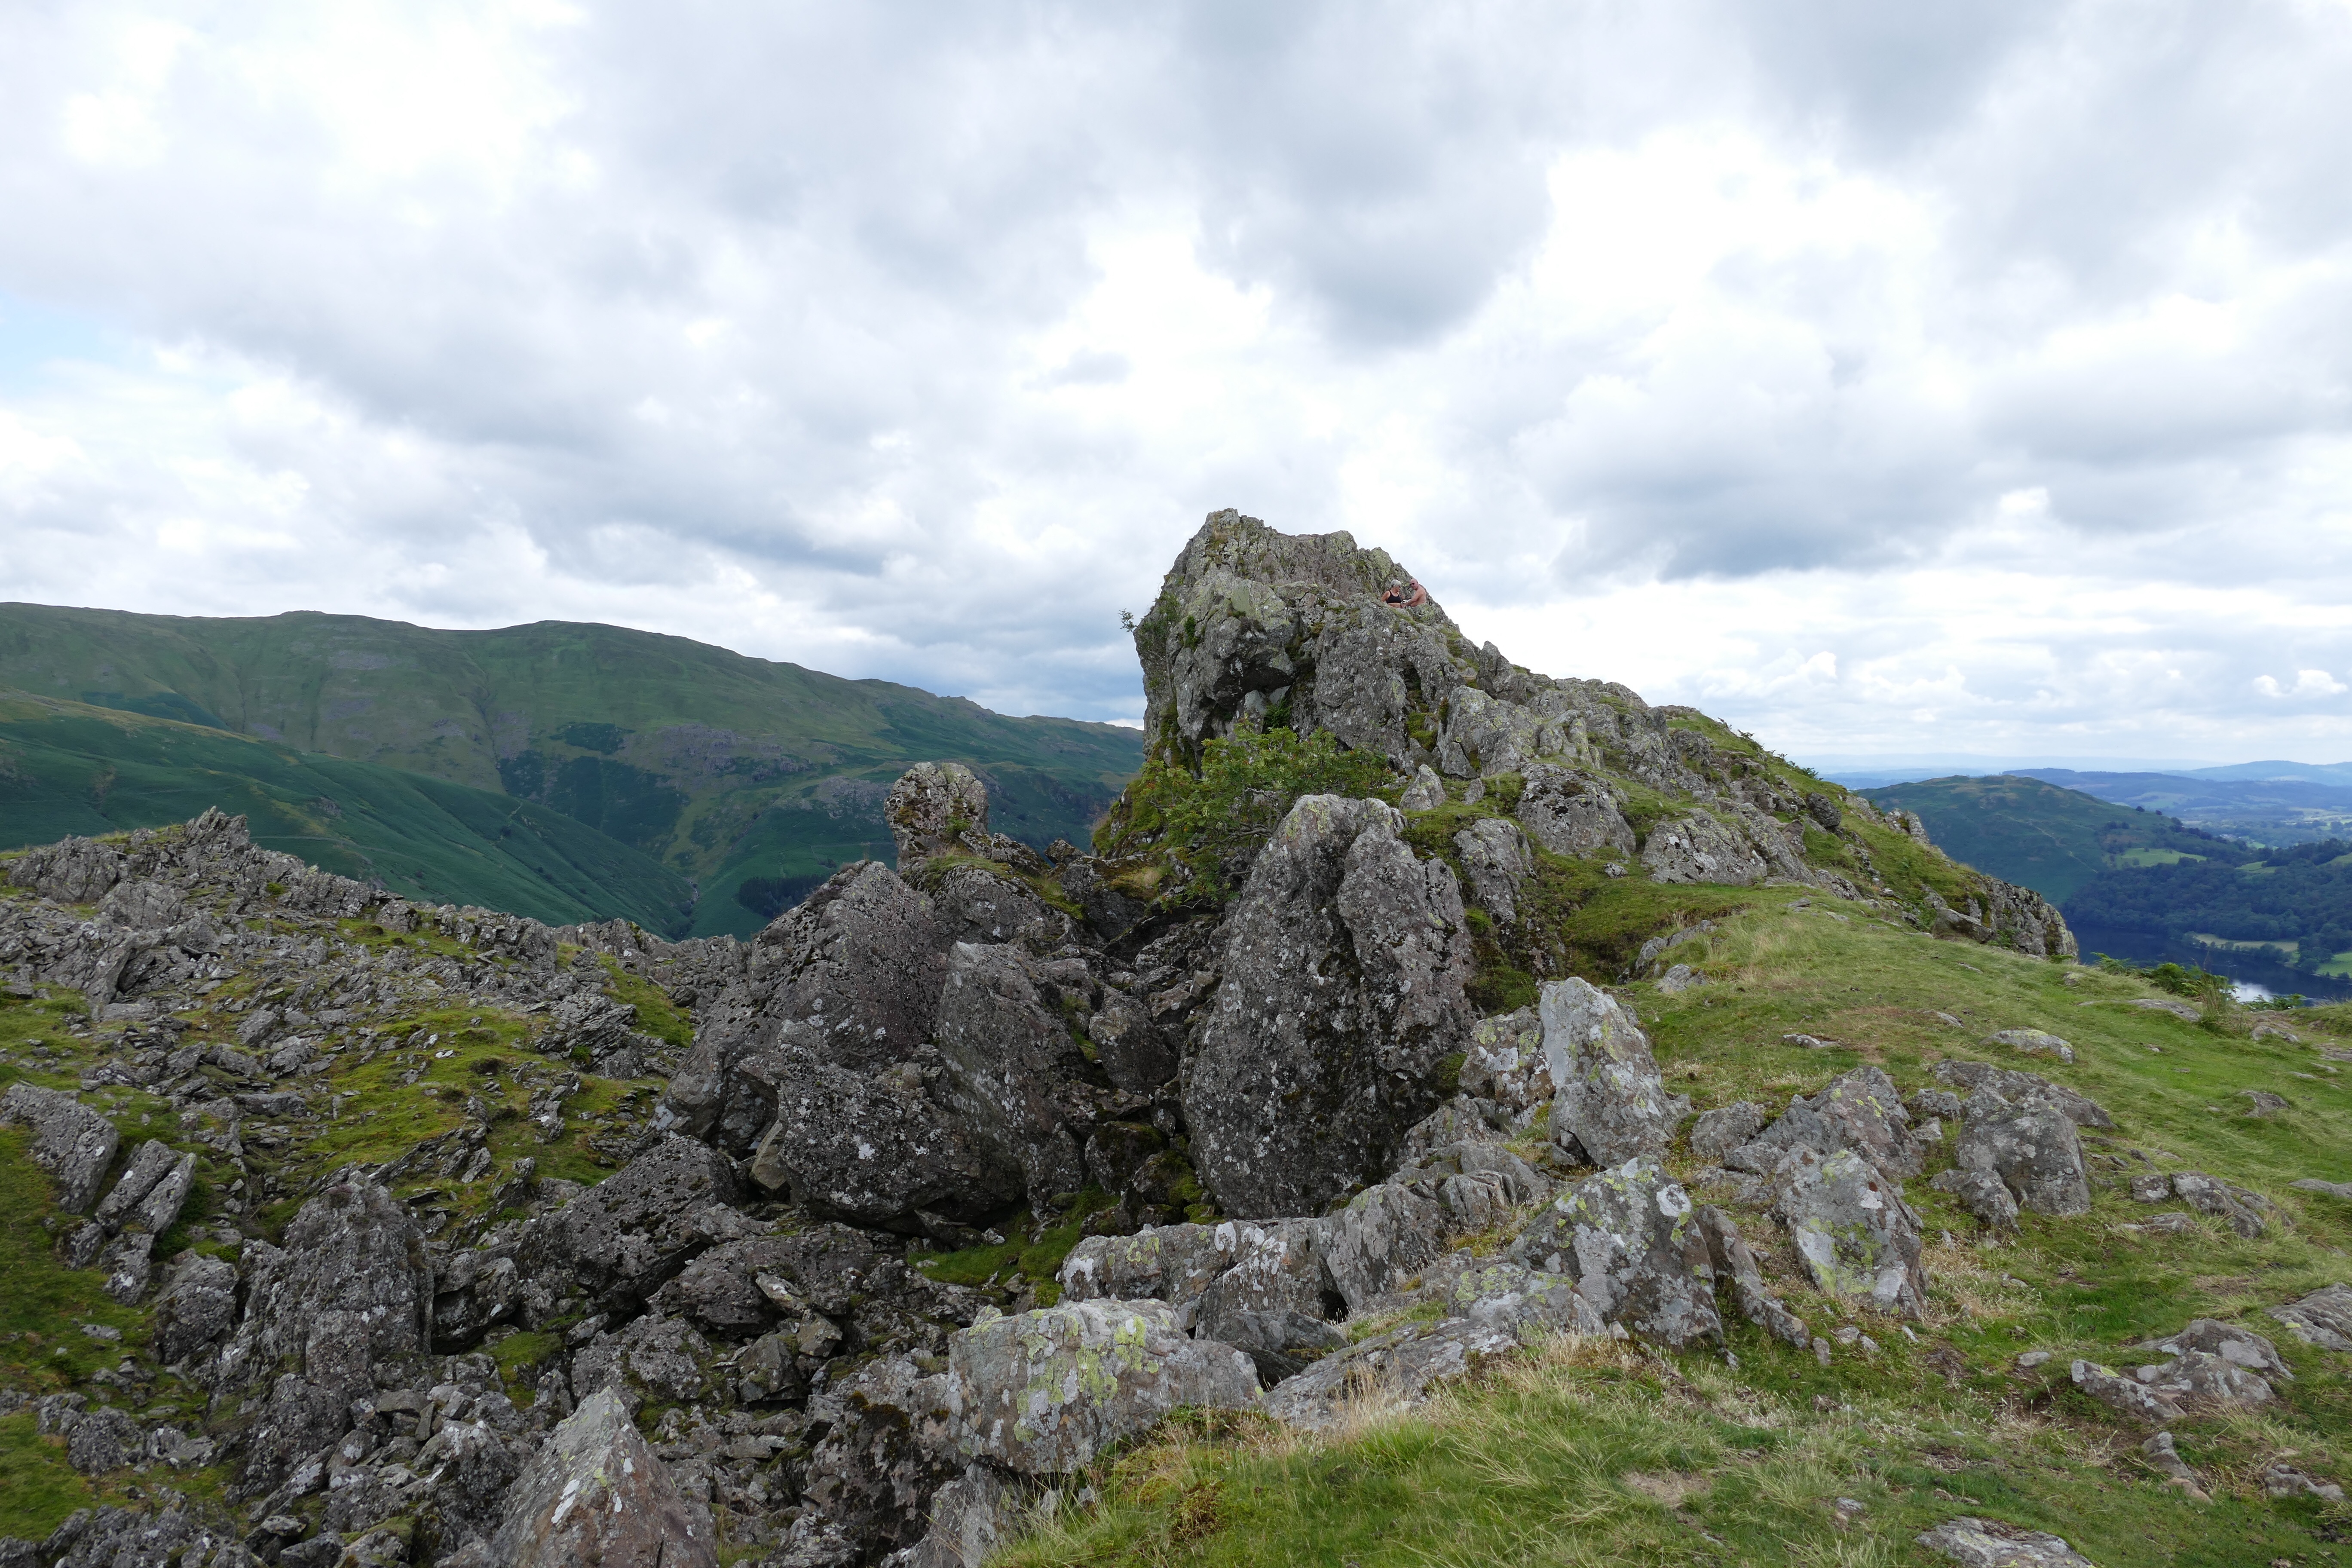
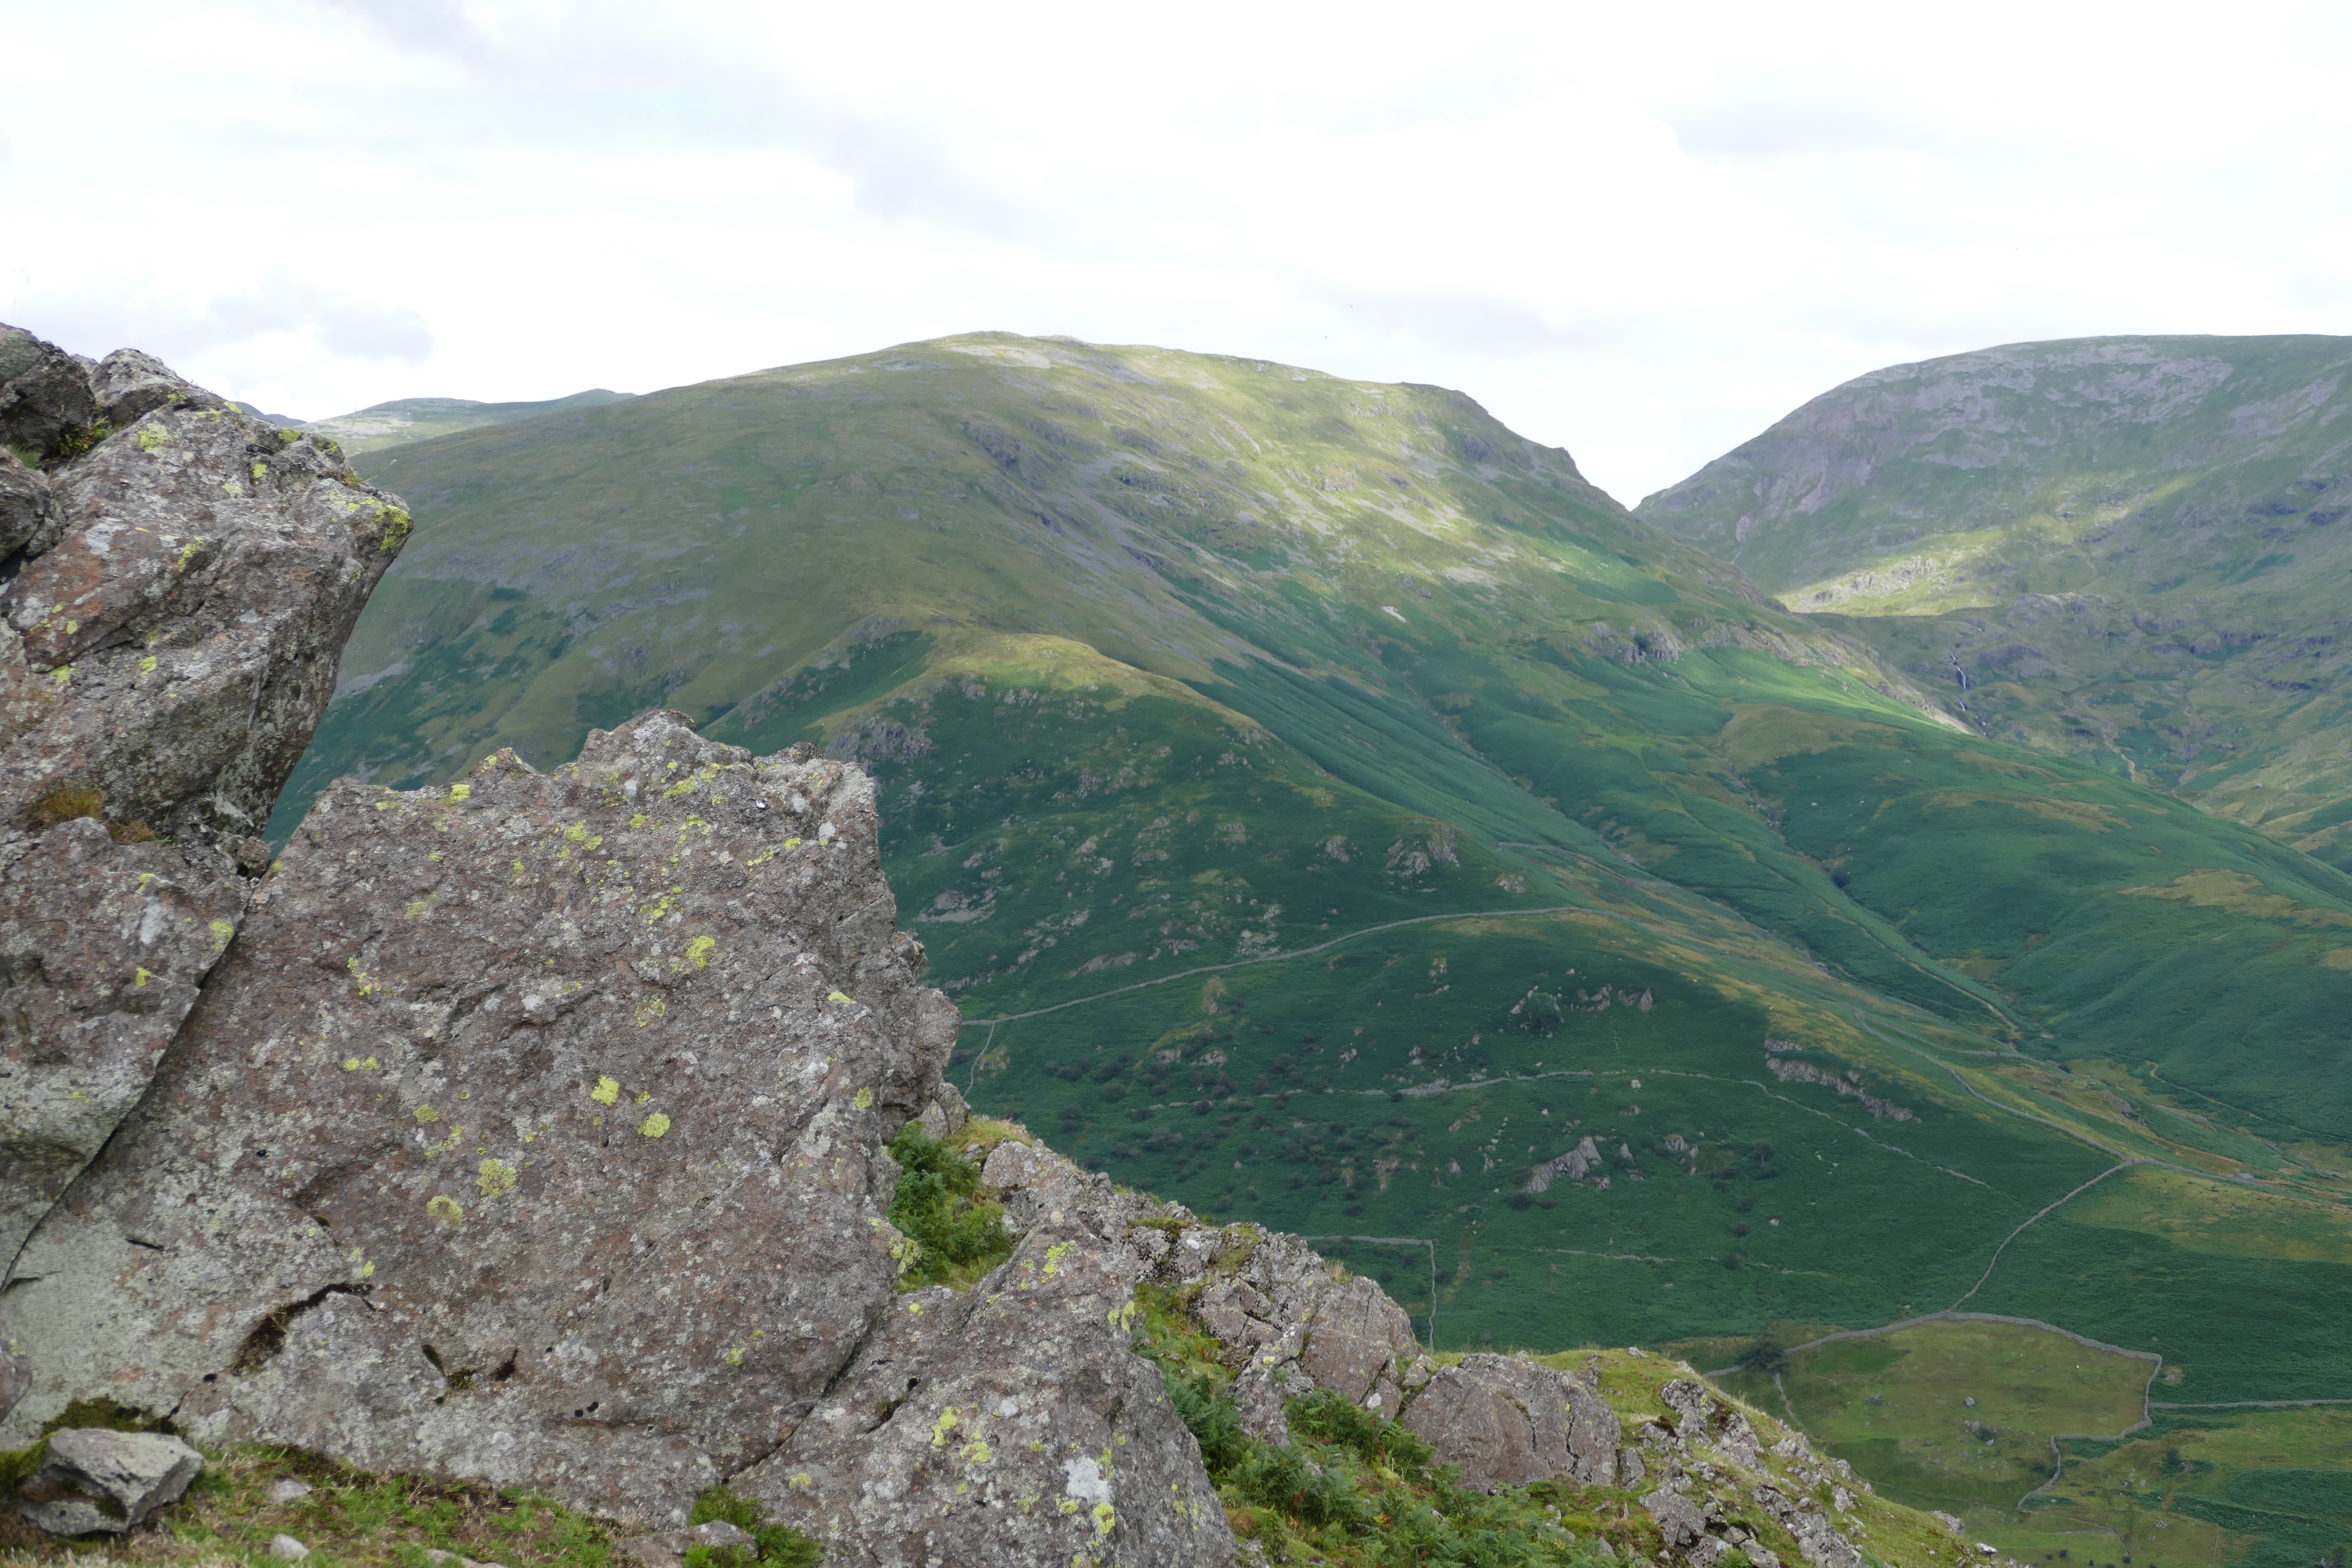
The Lion and the Lamb Rocks are visible from below, but it is only from above that you get the sheer scale of this famous landmark.
We had made our decision and now time was passing – and we had a long way to go. We estimated that the walk along the ridge, alone, would be at least five miles. Walking at an average speed of between two and three miles an hour, we reckoned that it would take us at least two hours to pass Gibson’s Knot and reach the junction of paths at the head of the valley below us and to the left.
Our first surprise was that we had to climb, again, to follow the ridge-path. Not only that, but the path that had been smooth and stepped on the lower slopes now became rough and rocky. Walking became a process of carefully placing each footfall… and was consequently very slow.
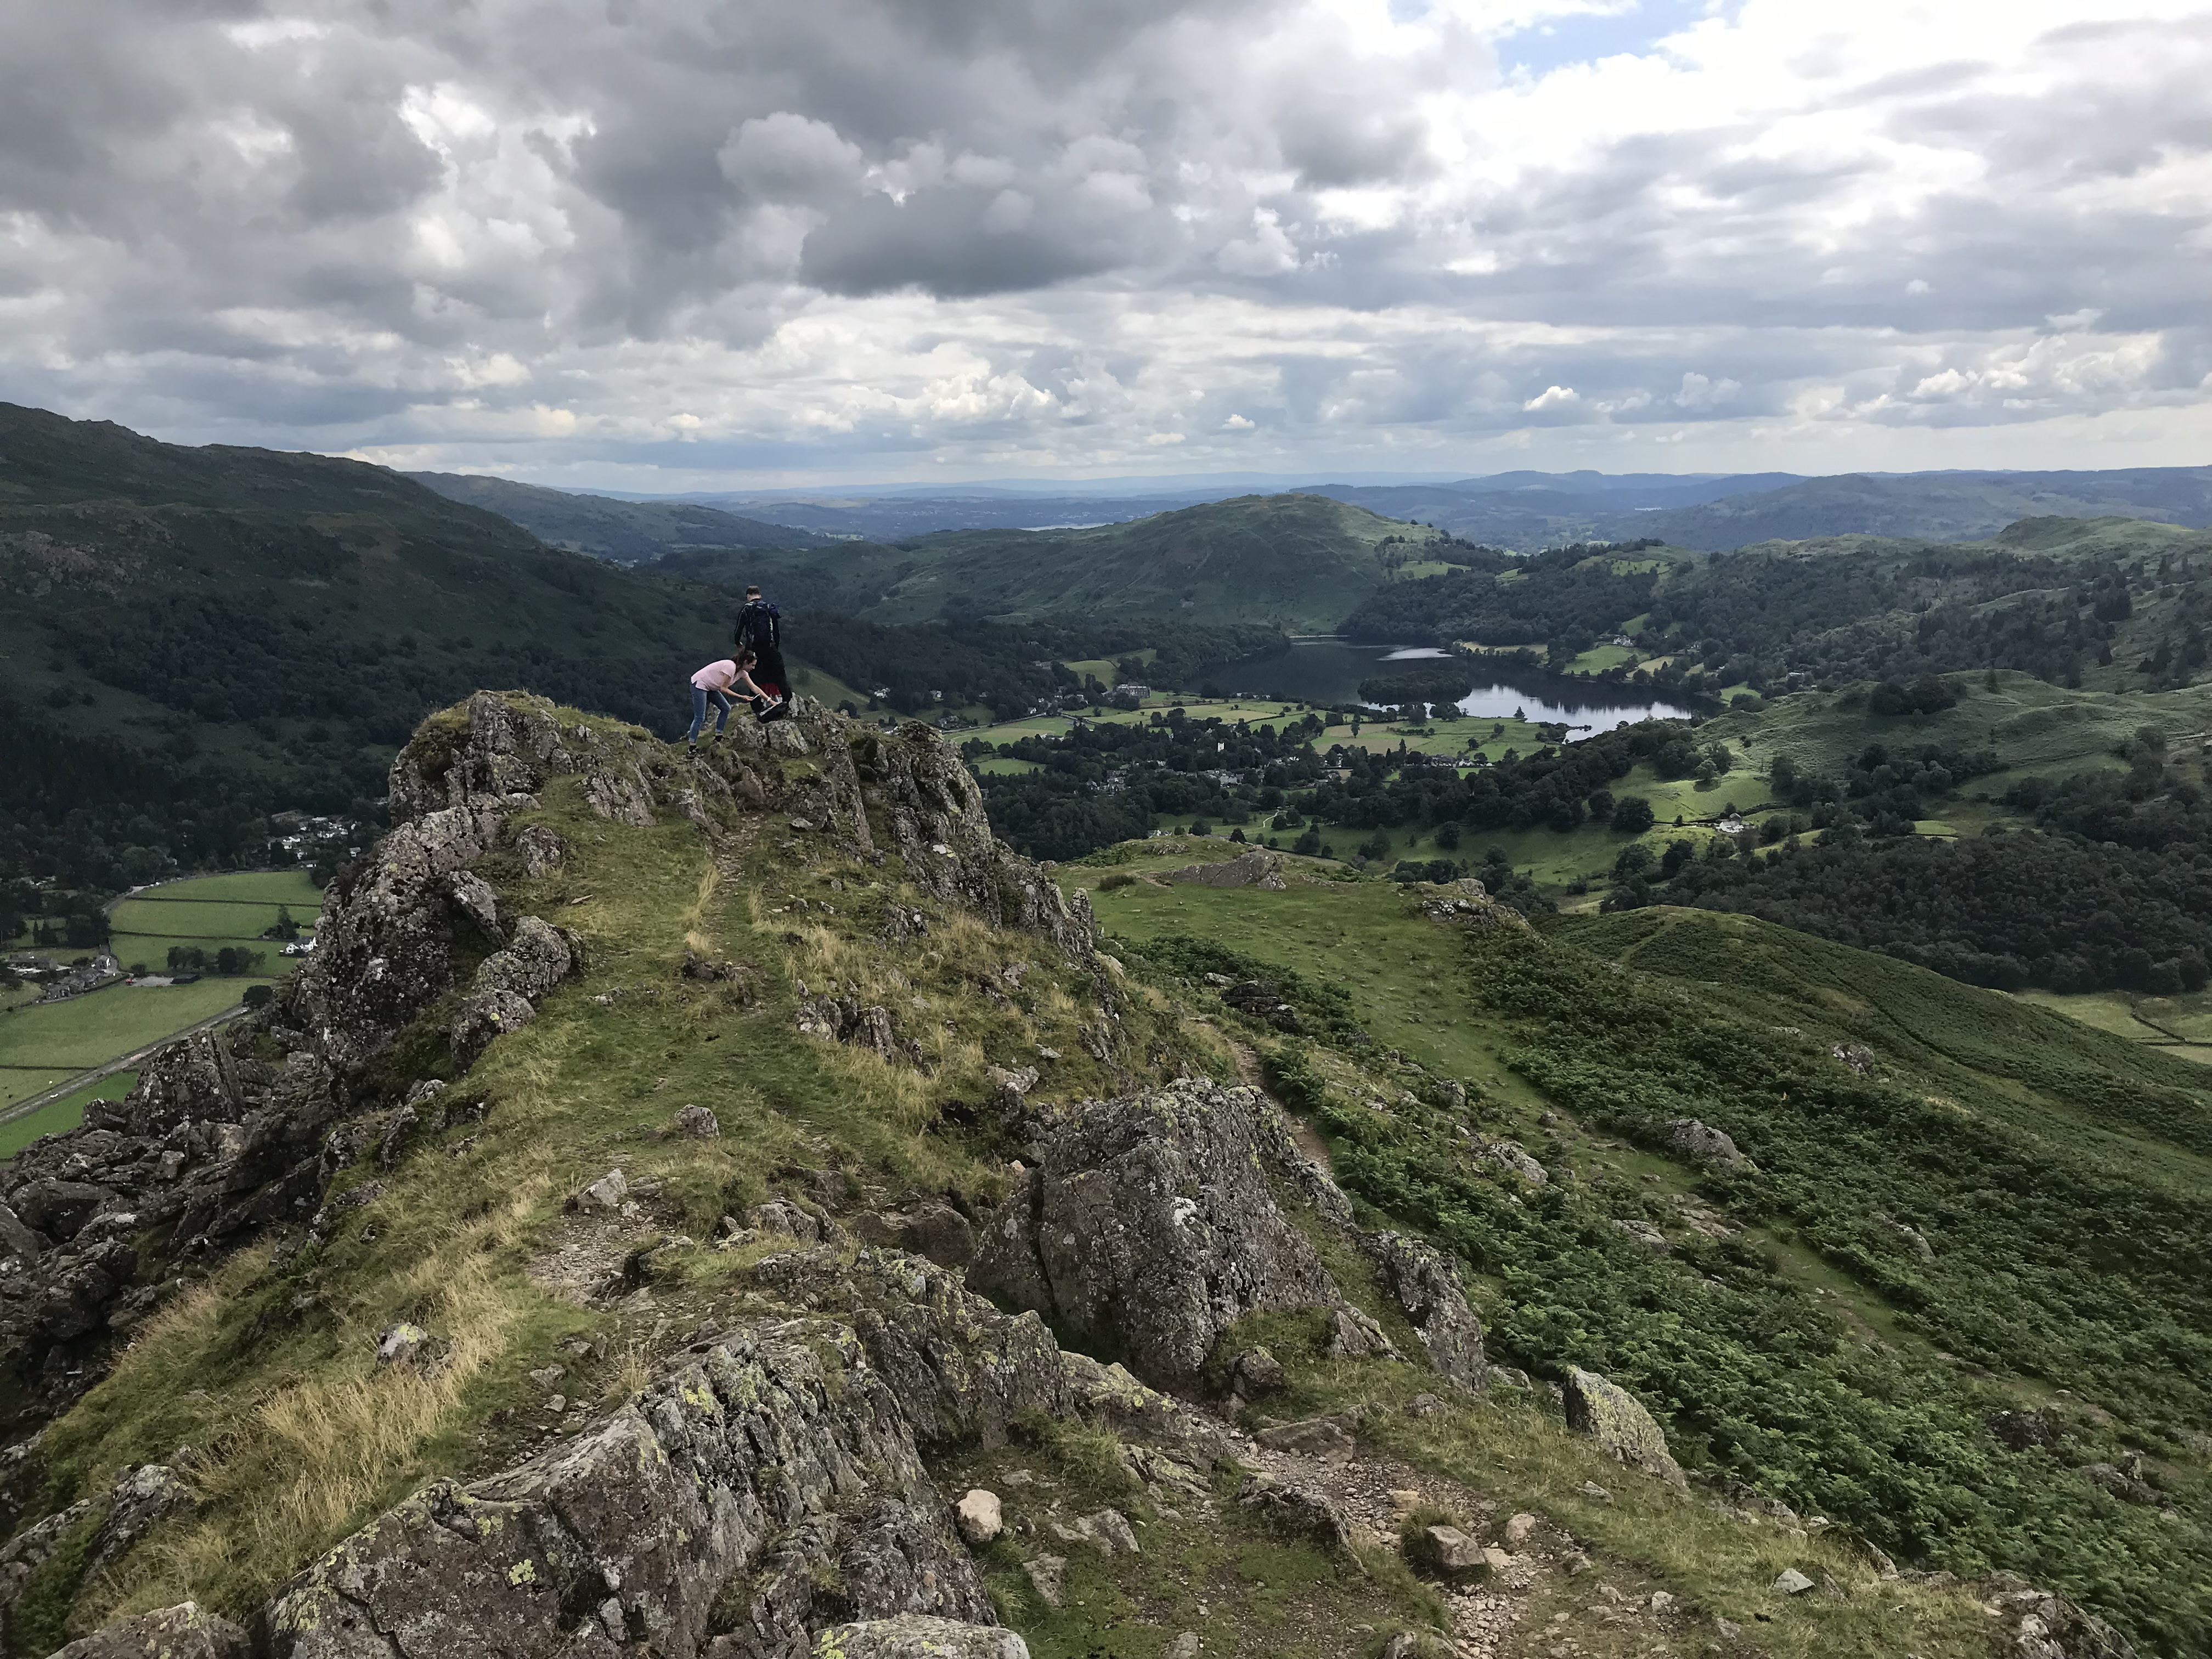
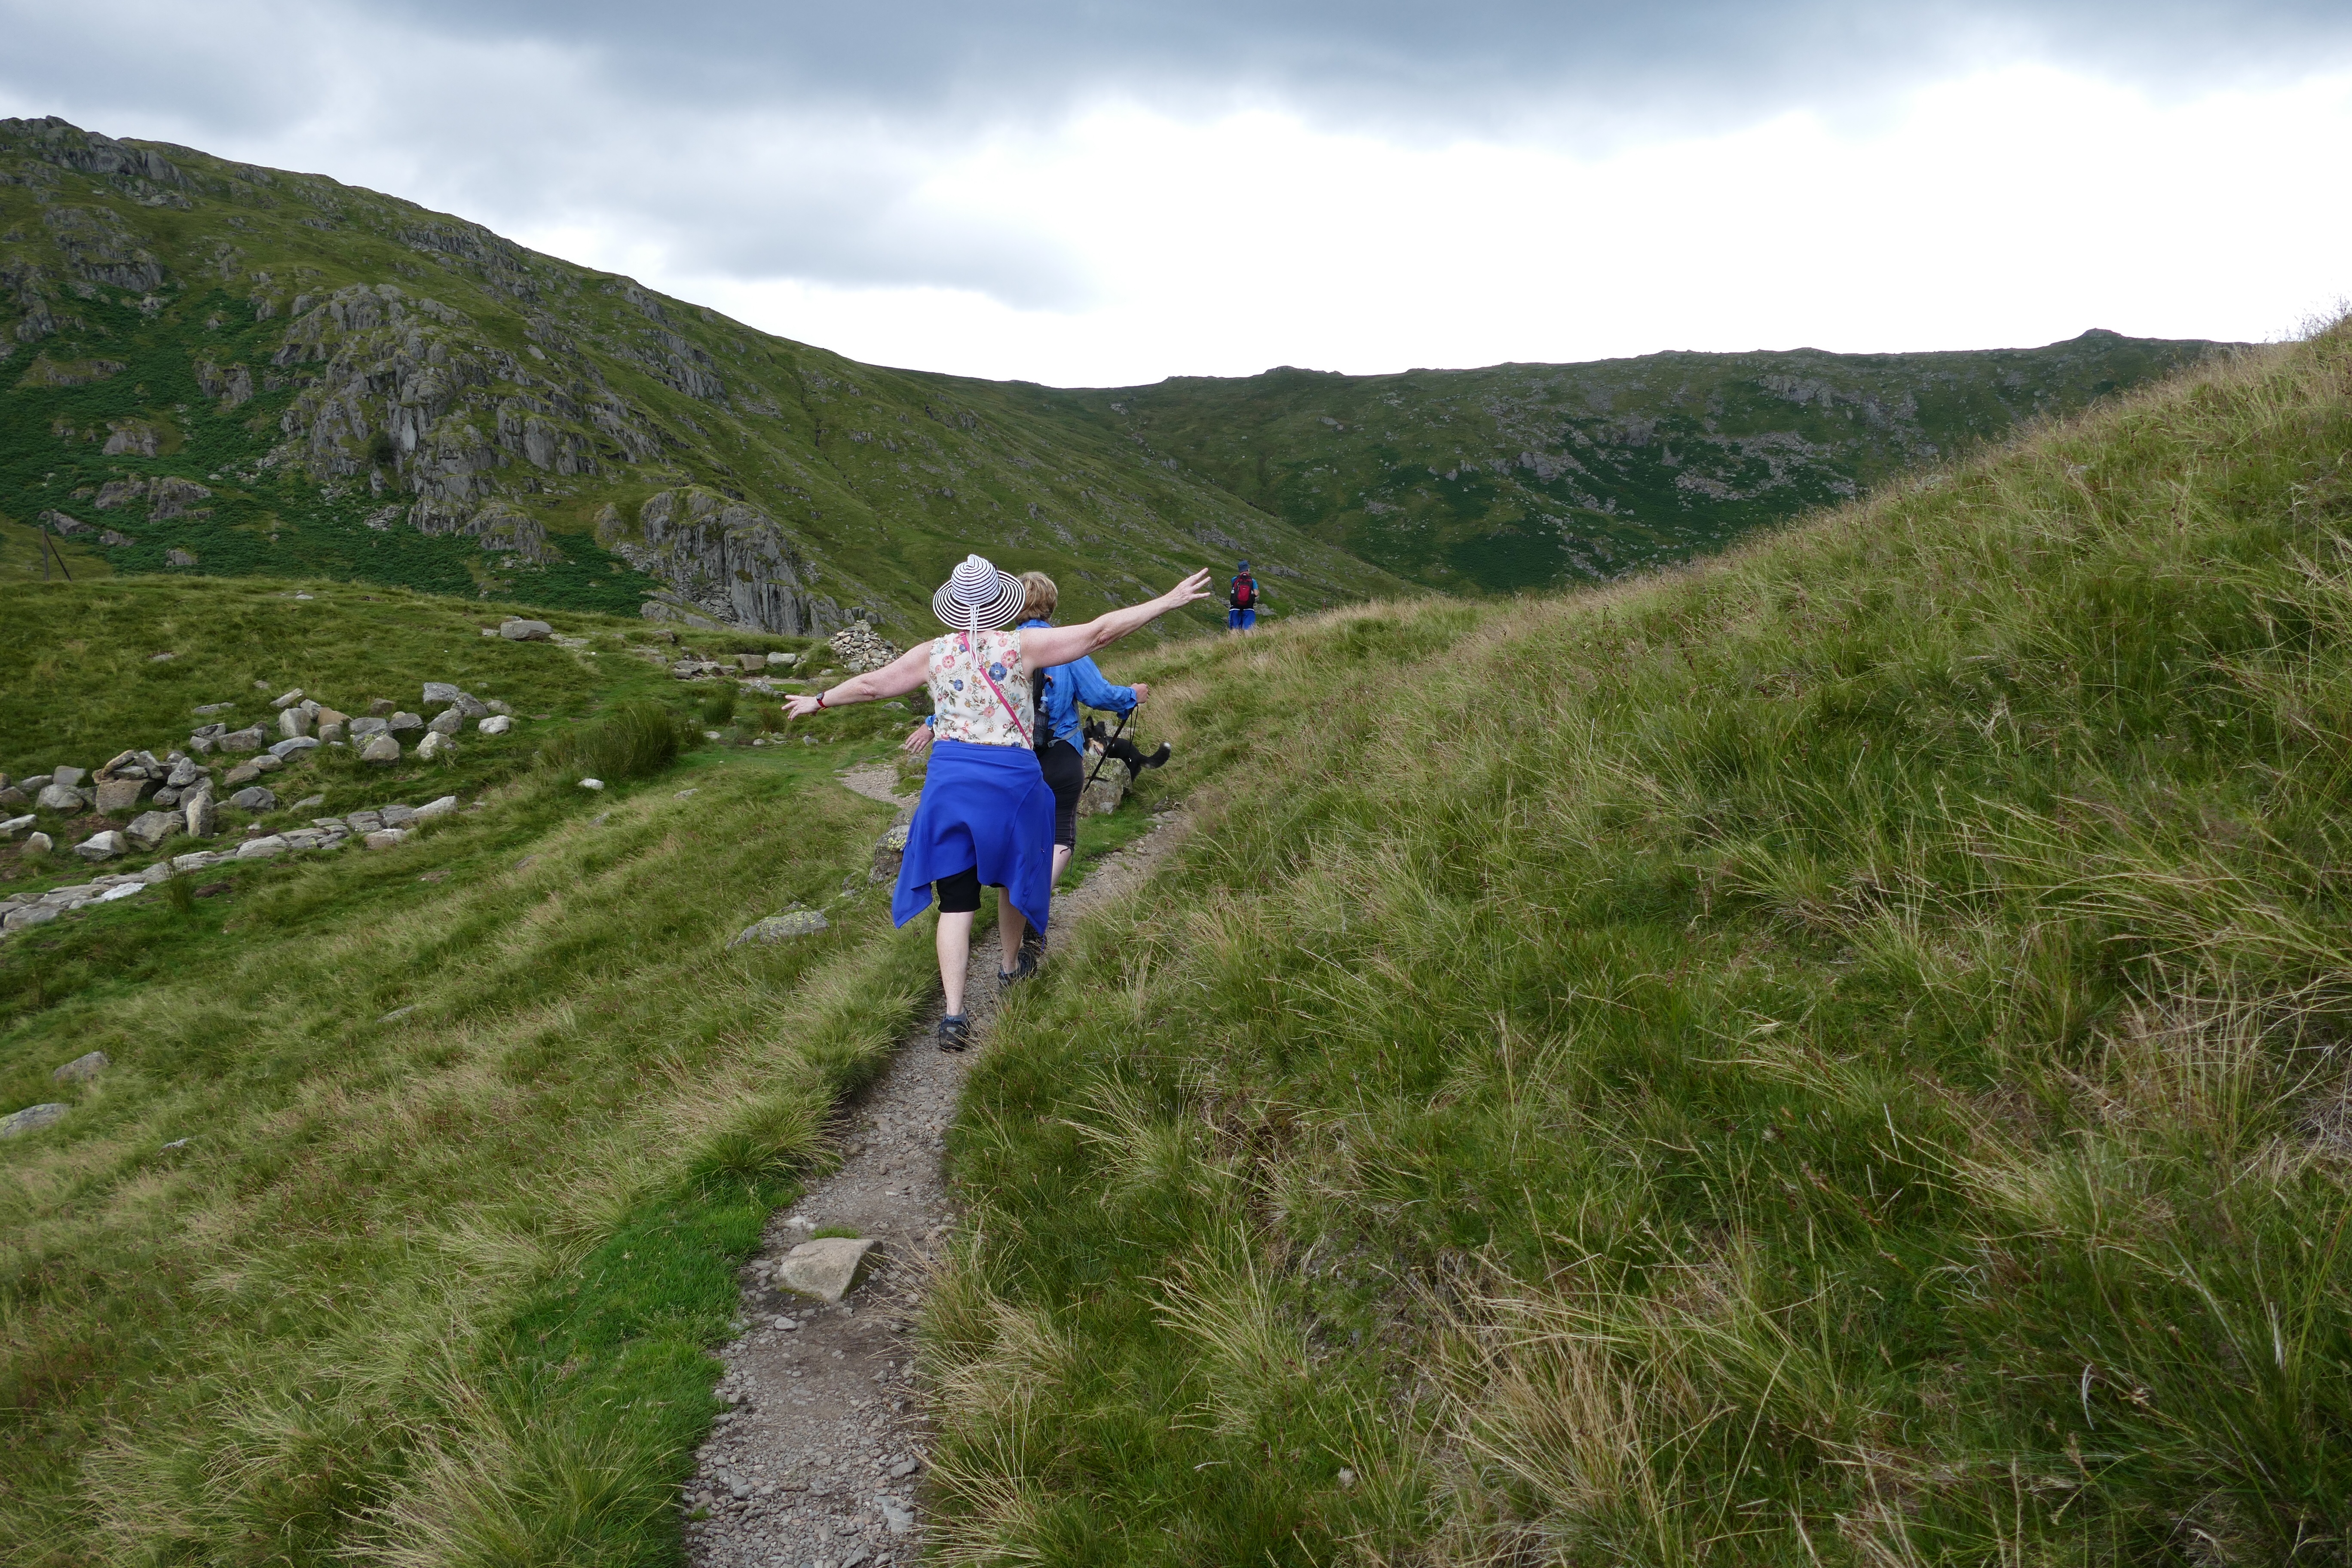
I didn’t help much, either. The trip was the first outing for my new camera. The telephoto lens was wonderful at reaching into the far distance and I ended up taking over a hundred shots… stopping each time to compose and frame them. The photo below illustrates what happens when you do this and look up to see where your friends are!
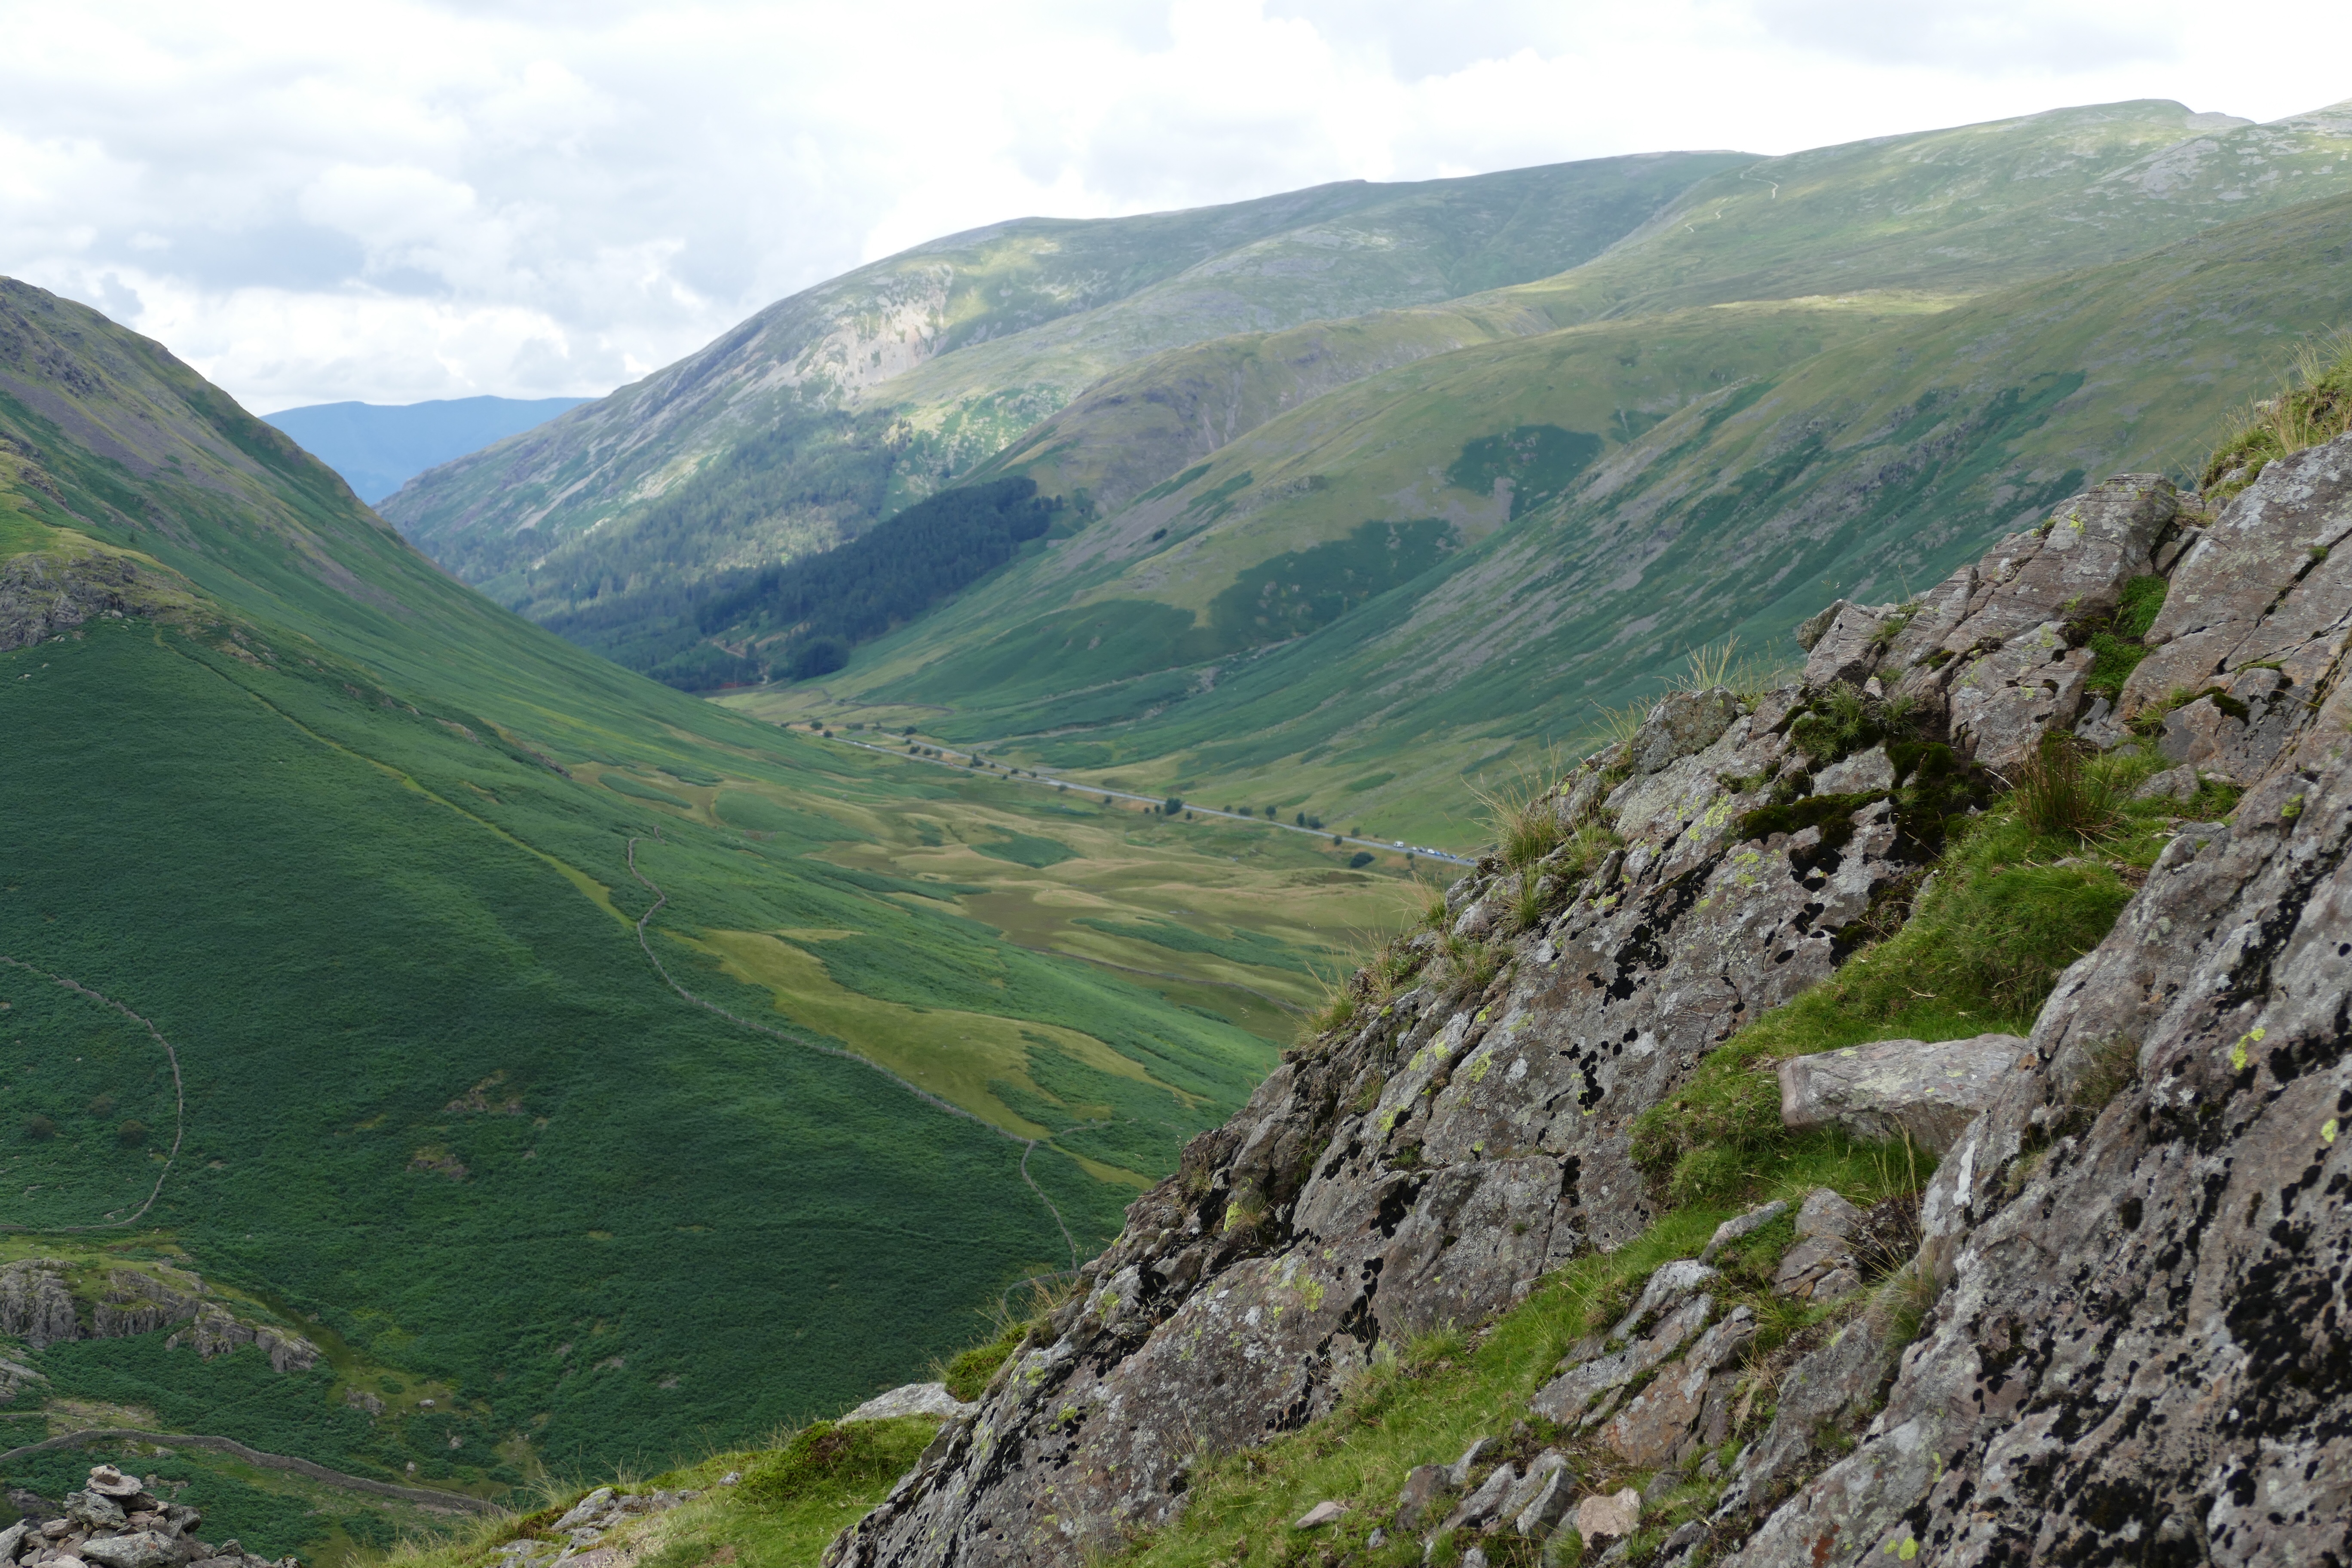
To our right (the east) the outline of the vast edge of the Fairfield Ring was becoming clear. The Fairfield Ring marks the high glacial bowl (Corrie) from which one of the largest glaciers carved out the northern basin of Lake Windermere – England’s largest lake.
From this perspective (below), you can only see the rim of Fairfield. The full walk around it, beginning at Ambleside, takes six to eight hours! These are not trivial landscapes!
To our left, the steep sides of the fell showed evidence of less and less habitation, as the ground gave way to the rocky floor of one half of the Easedale valley – known at this point as ‘Far Easedale Gill’
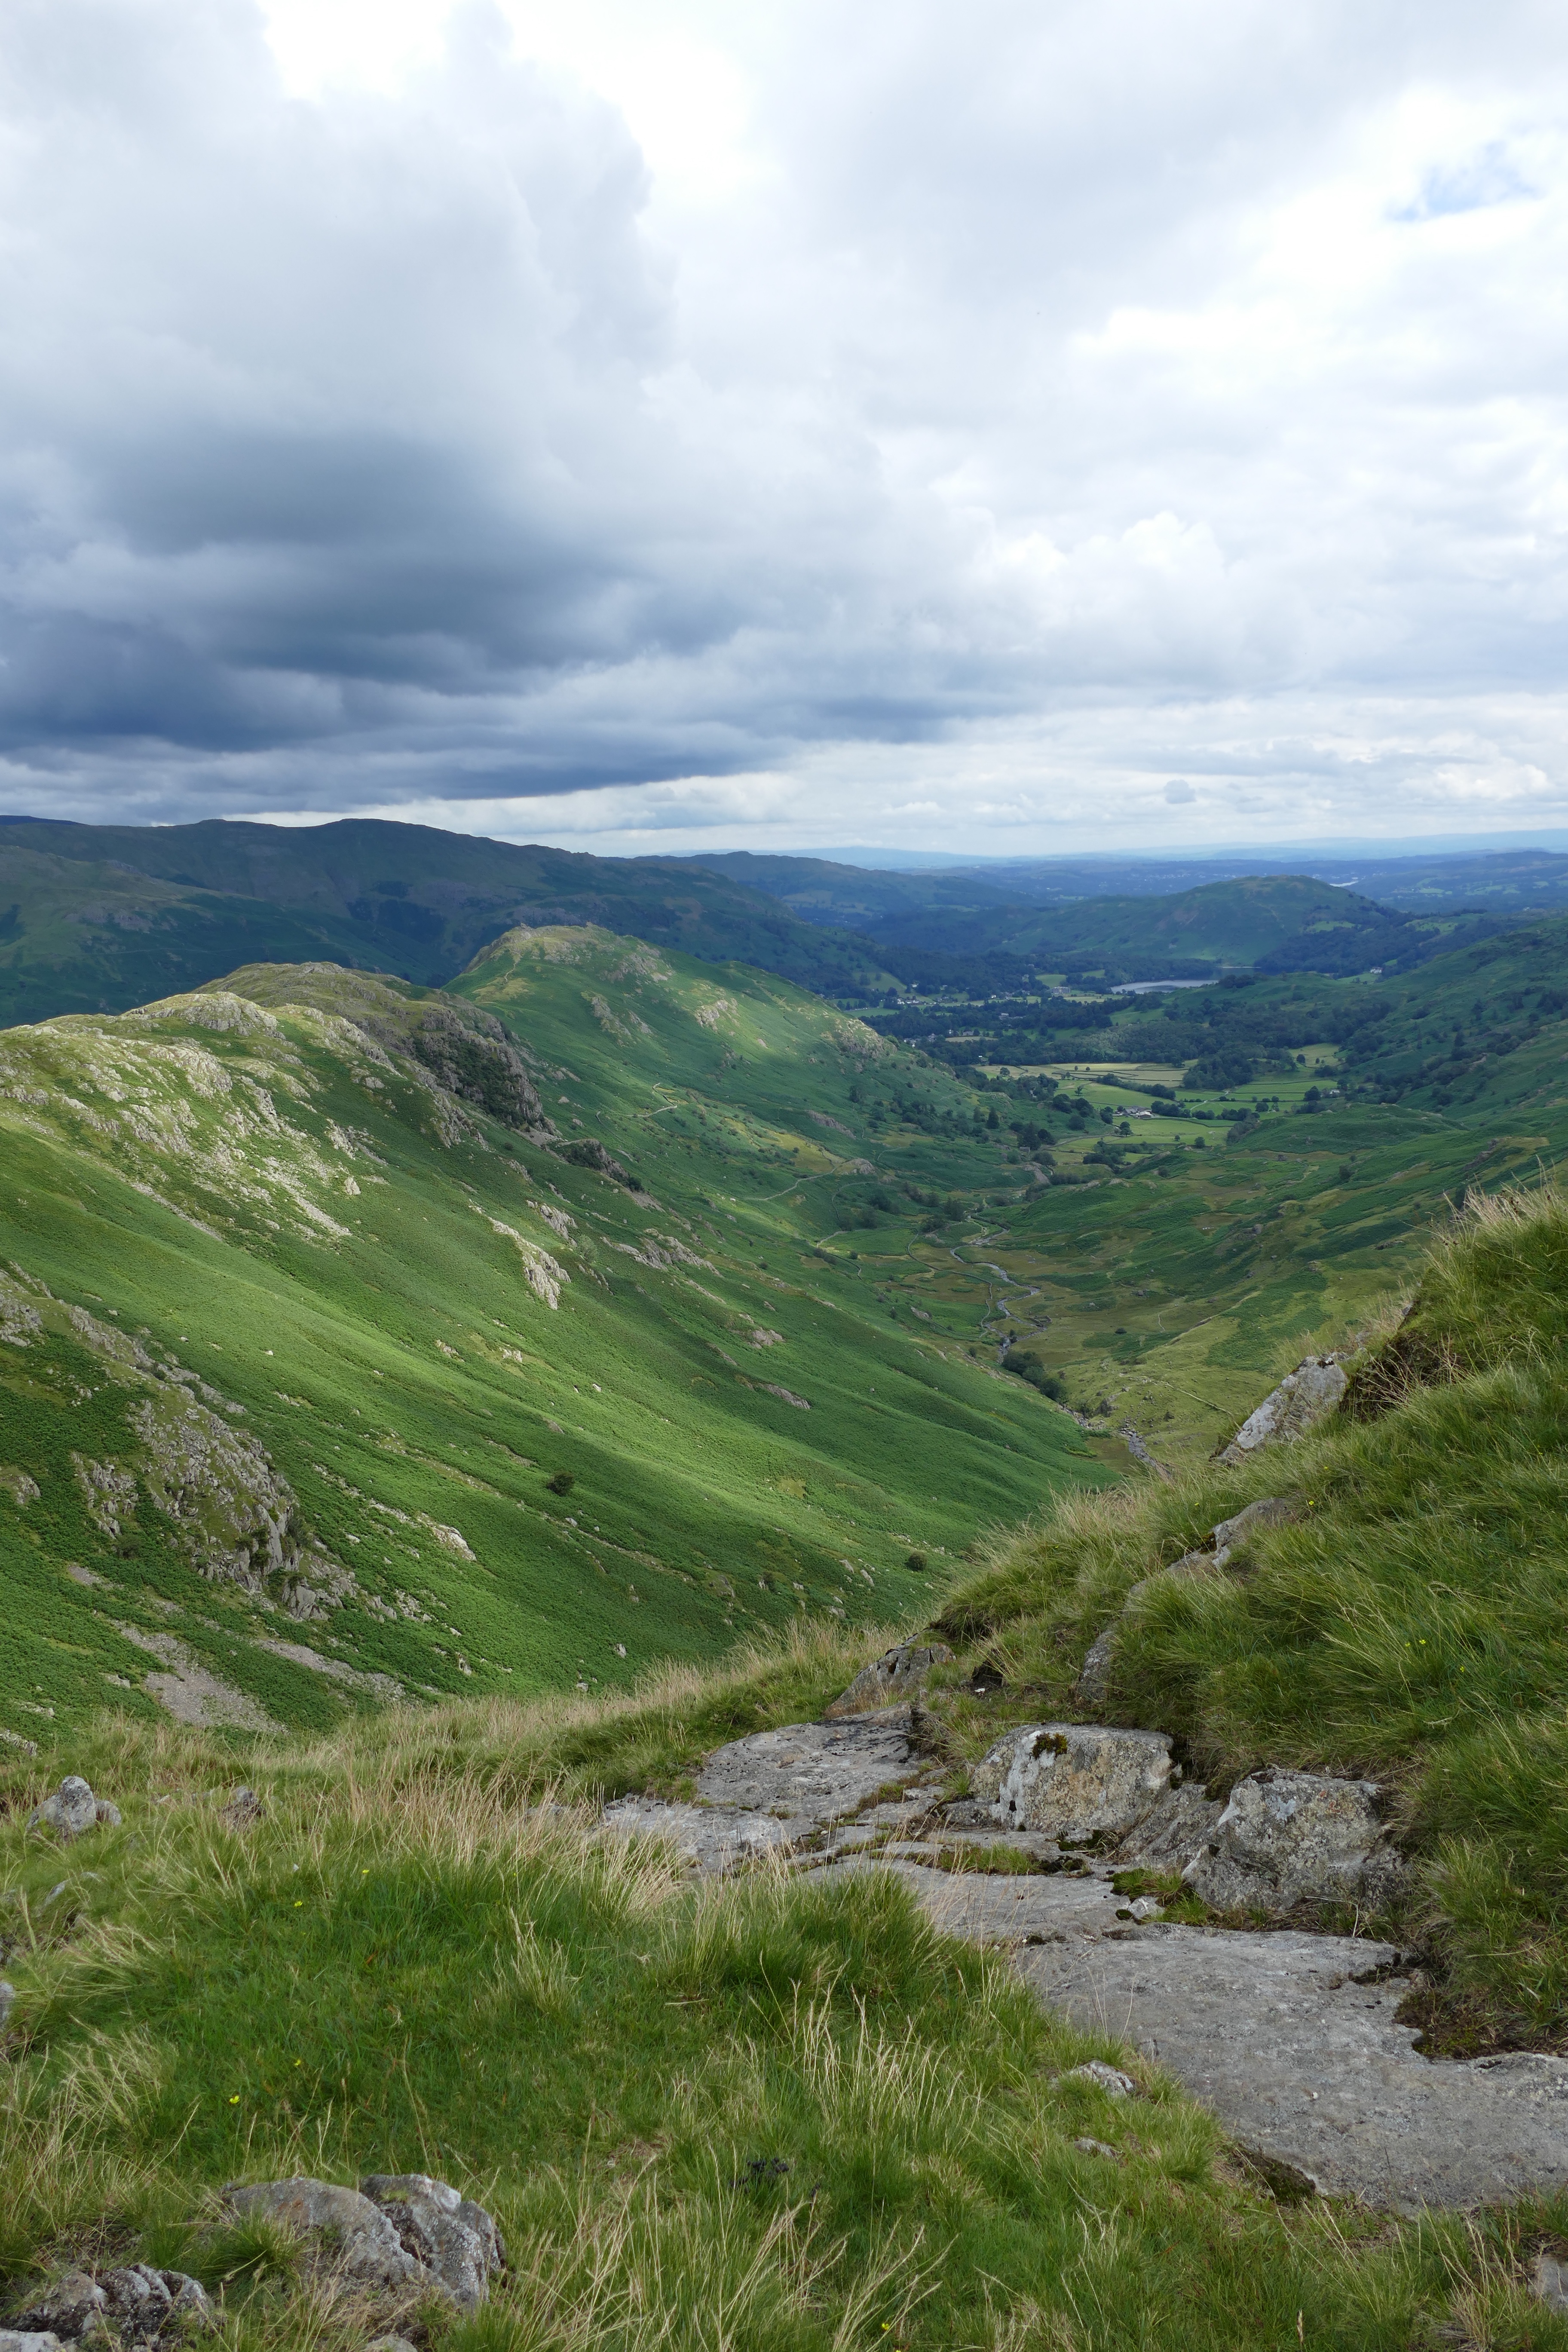
Above: Flashing forward in time… The ridge and valley: the two halves of our eventual walk. The photo was taken when we had finally ended our walk along the ridge – but still had to walk back to Grasmere along the valley floor.
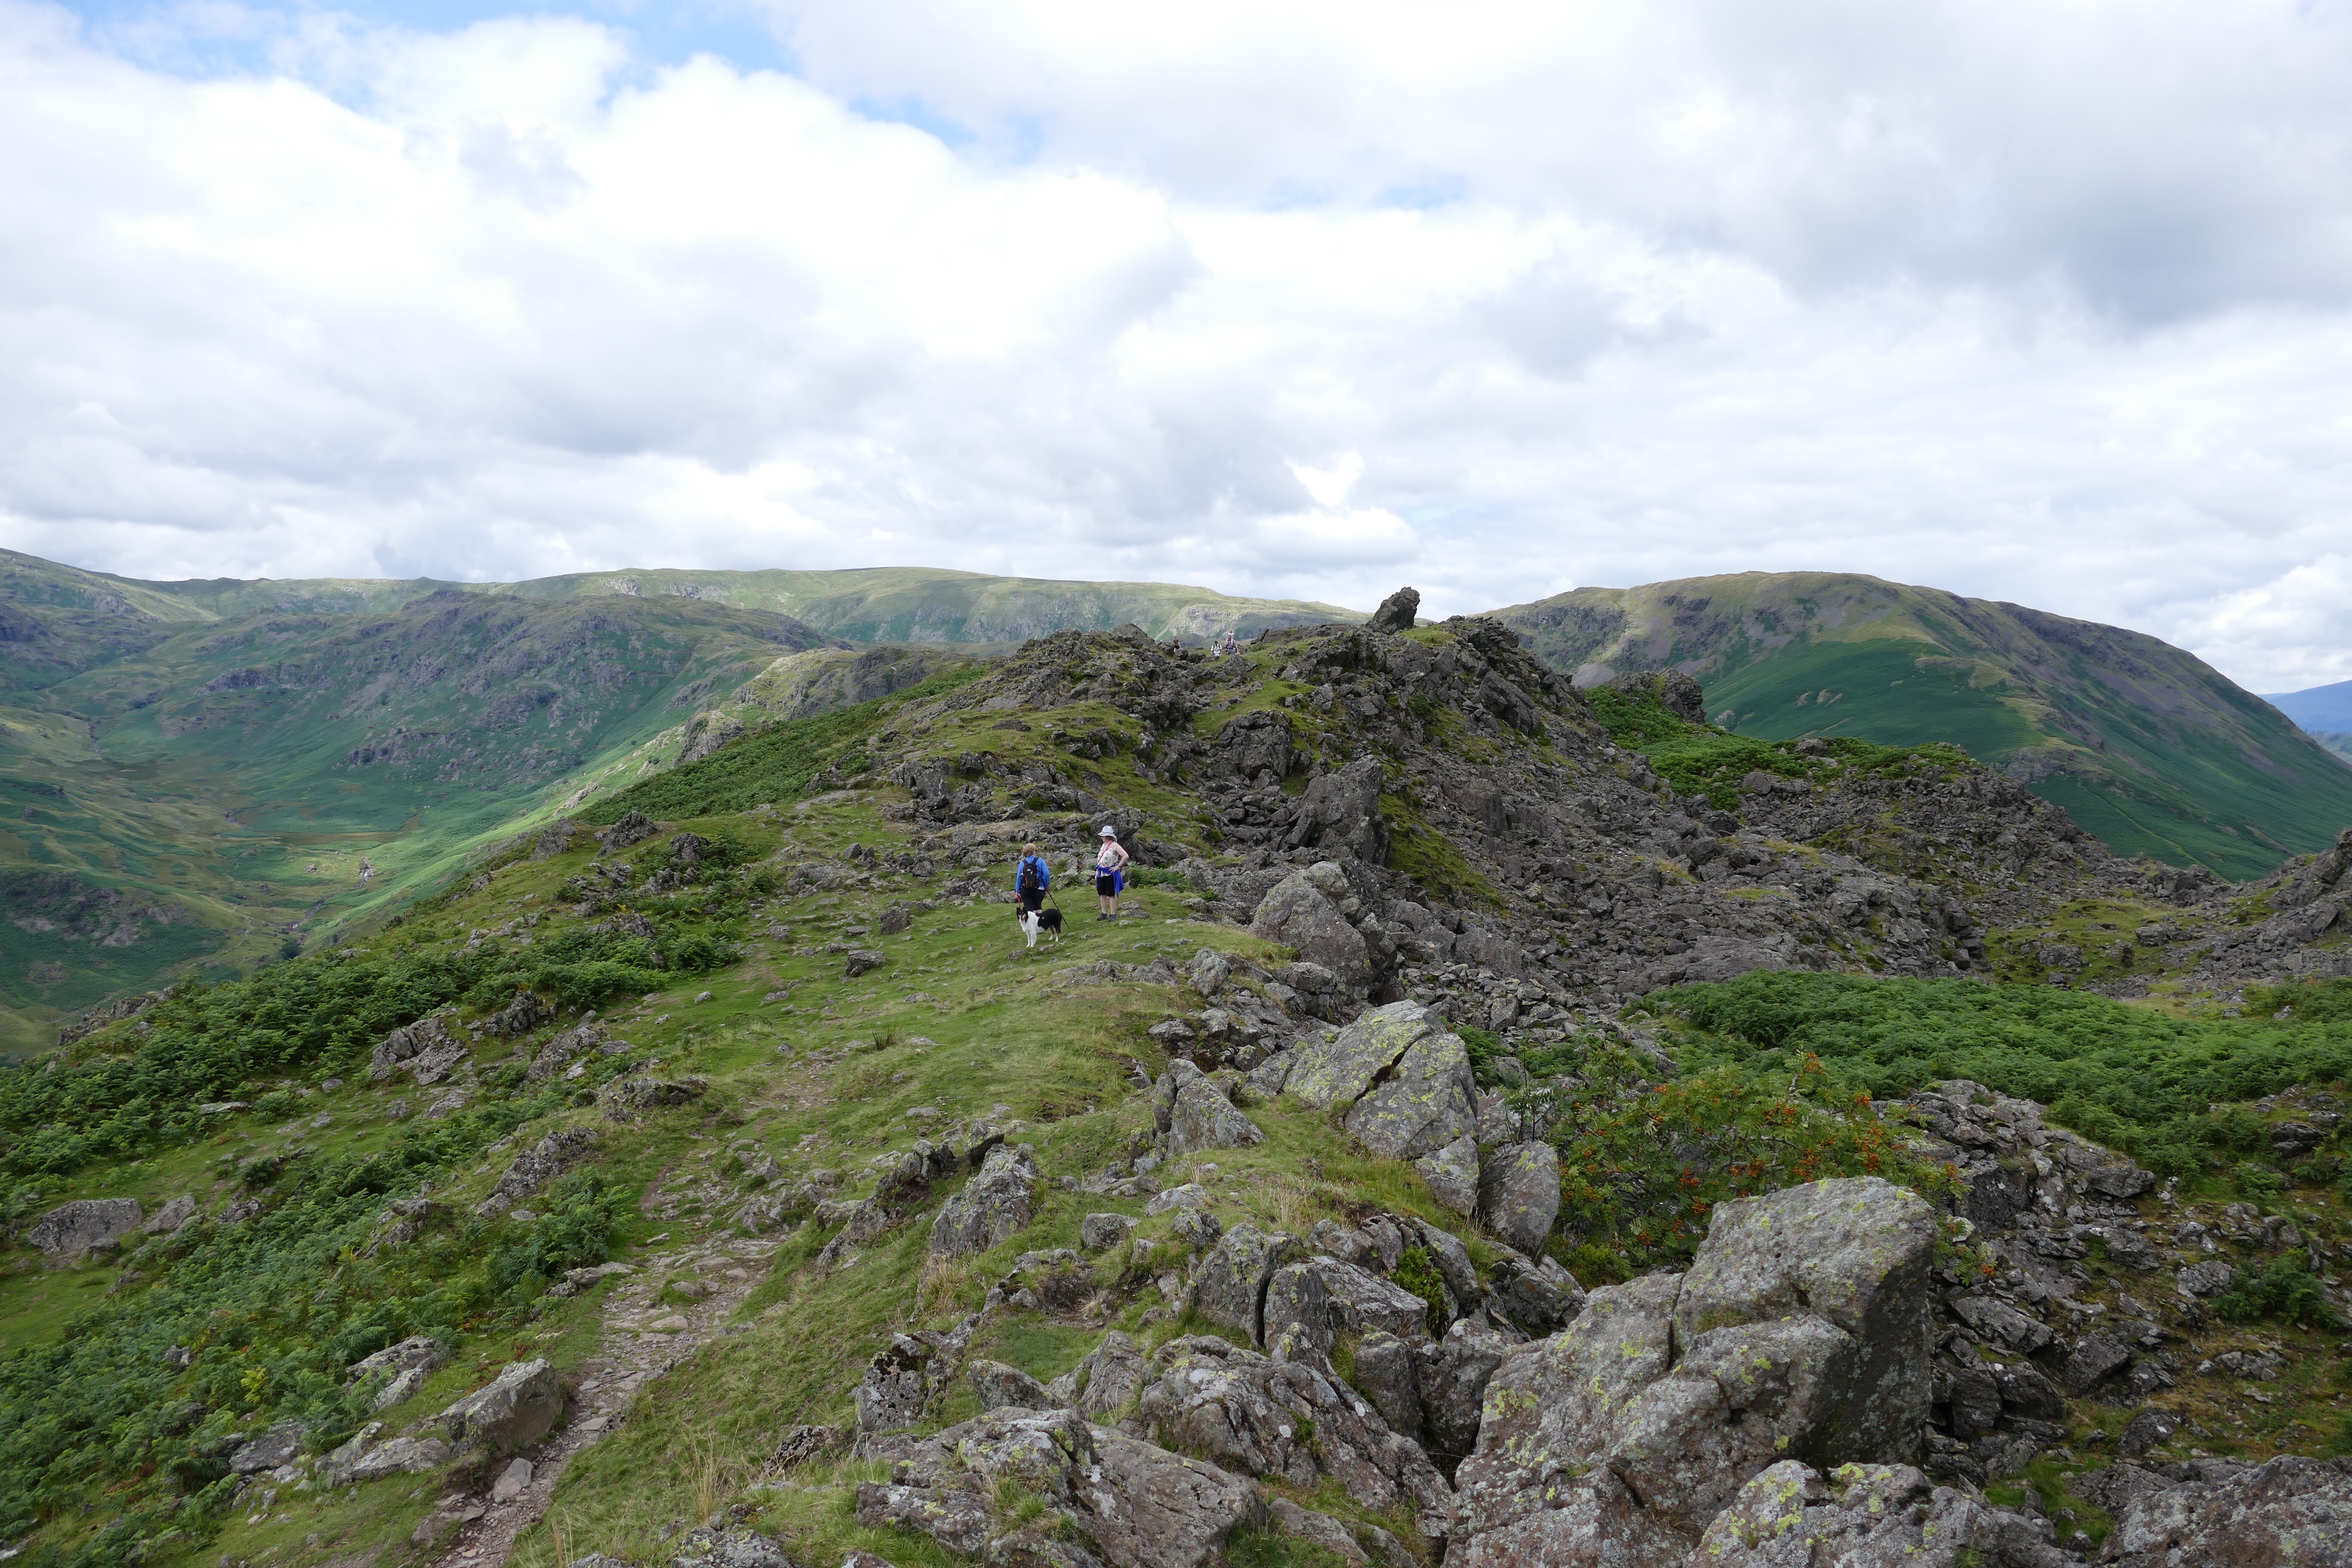
The above photo shows the hidden difficulty we faced: each section along the ridge was a serious further climb; a fact that we hadn’t realised when we left Helm Crag. Locate the second ‘hump’ on the ridge. This is the point we had reached in the narrative…
We had developed a method of making as much progress as our diminishing strength would allow. We would walk for an hour, solid, then stop to sit on a pile of friendly rocks and share water and some fruit chocolate that Jon had resourcefully brought with him. It was only later, looking back, that we realised how much we were climbing in each leg.
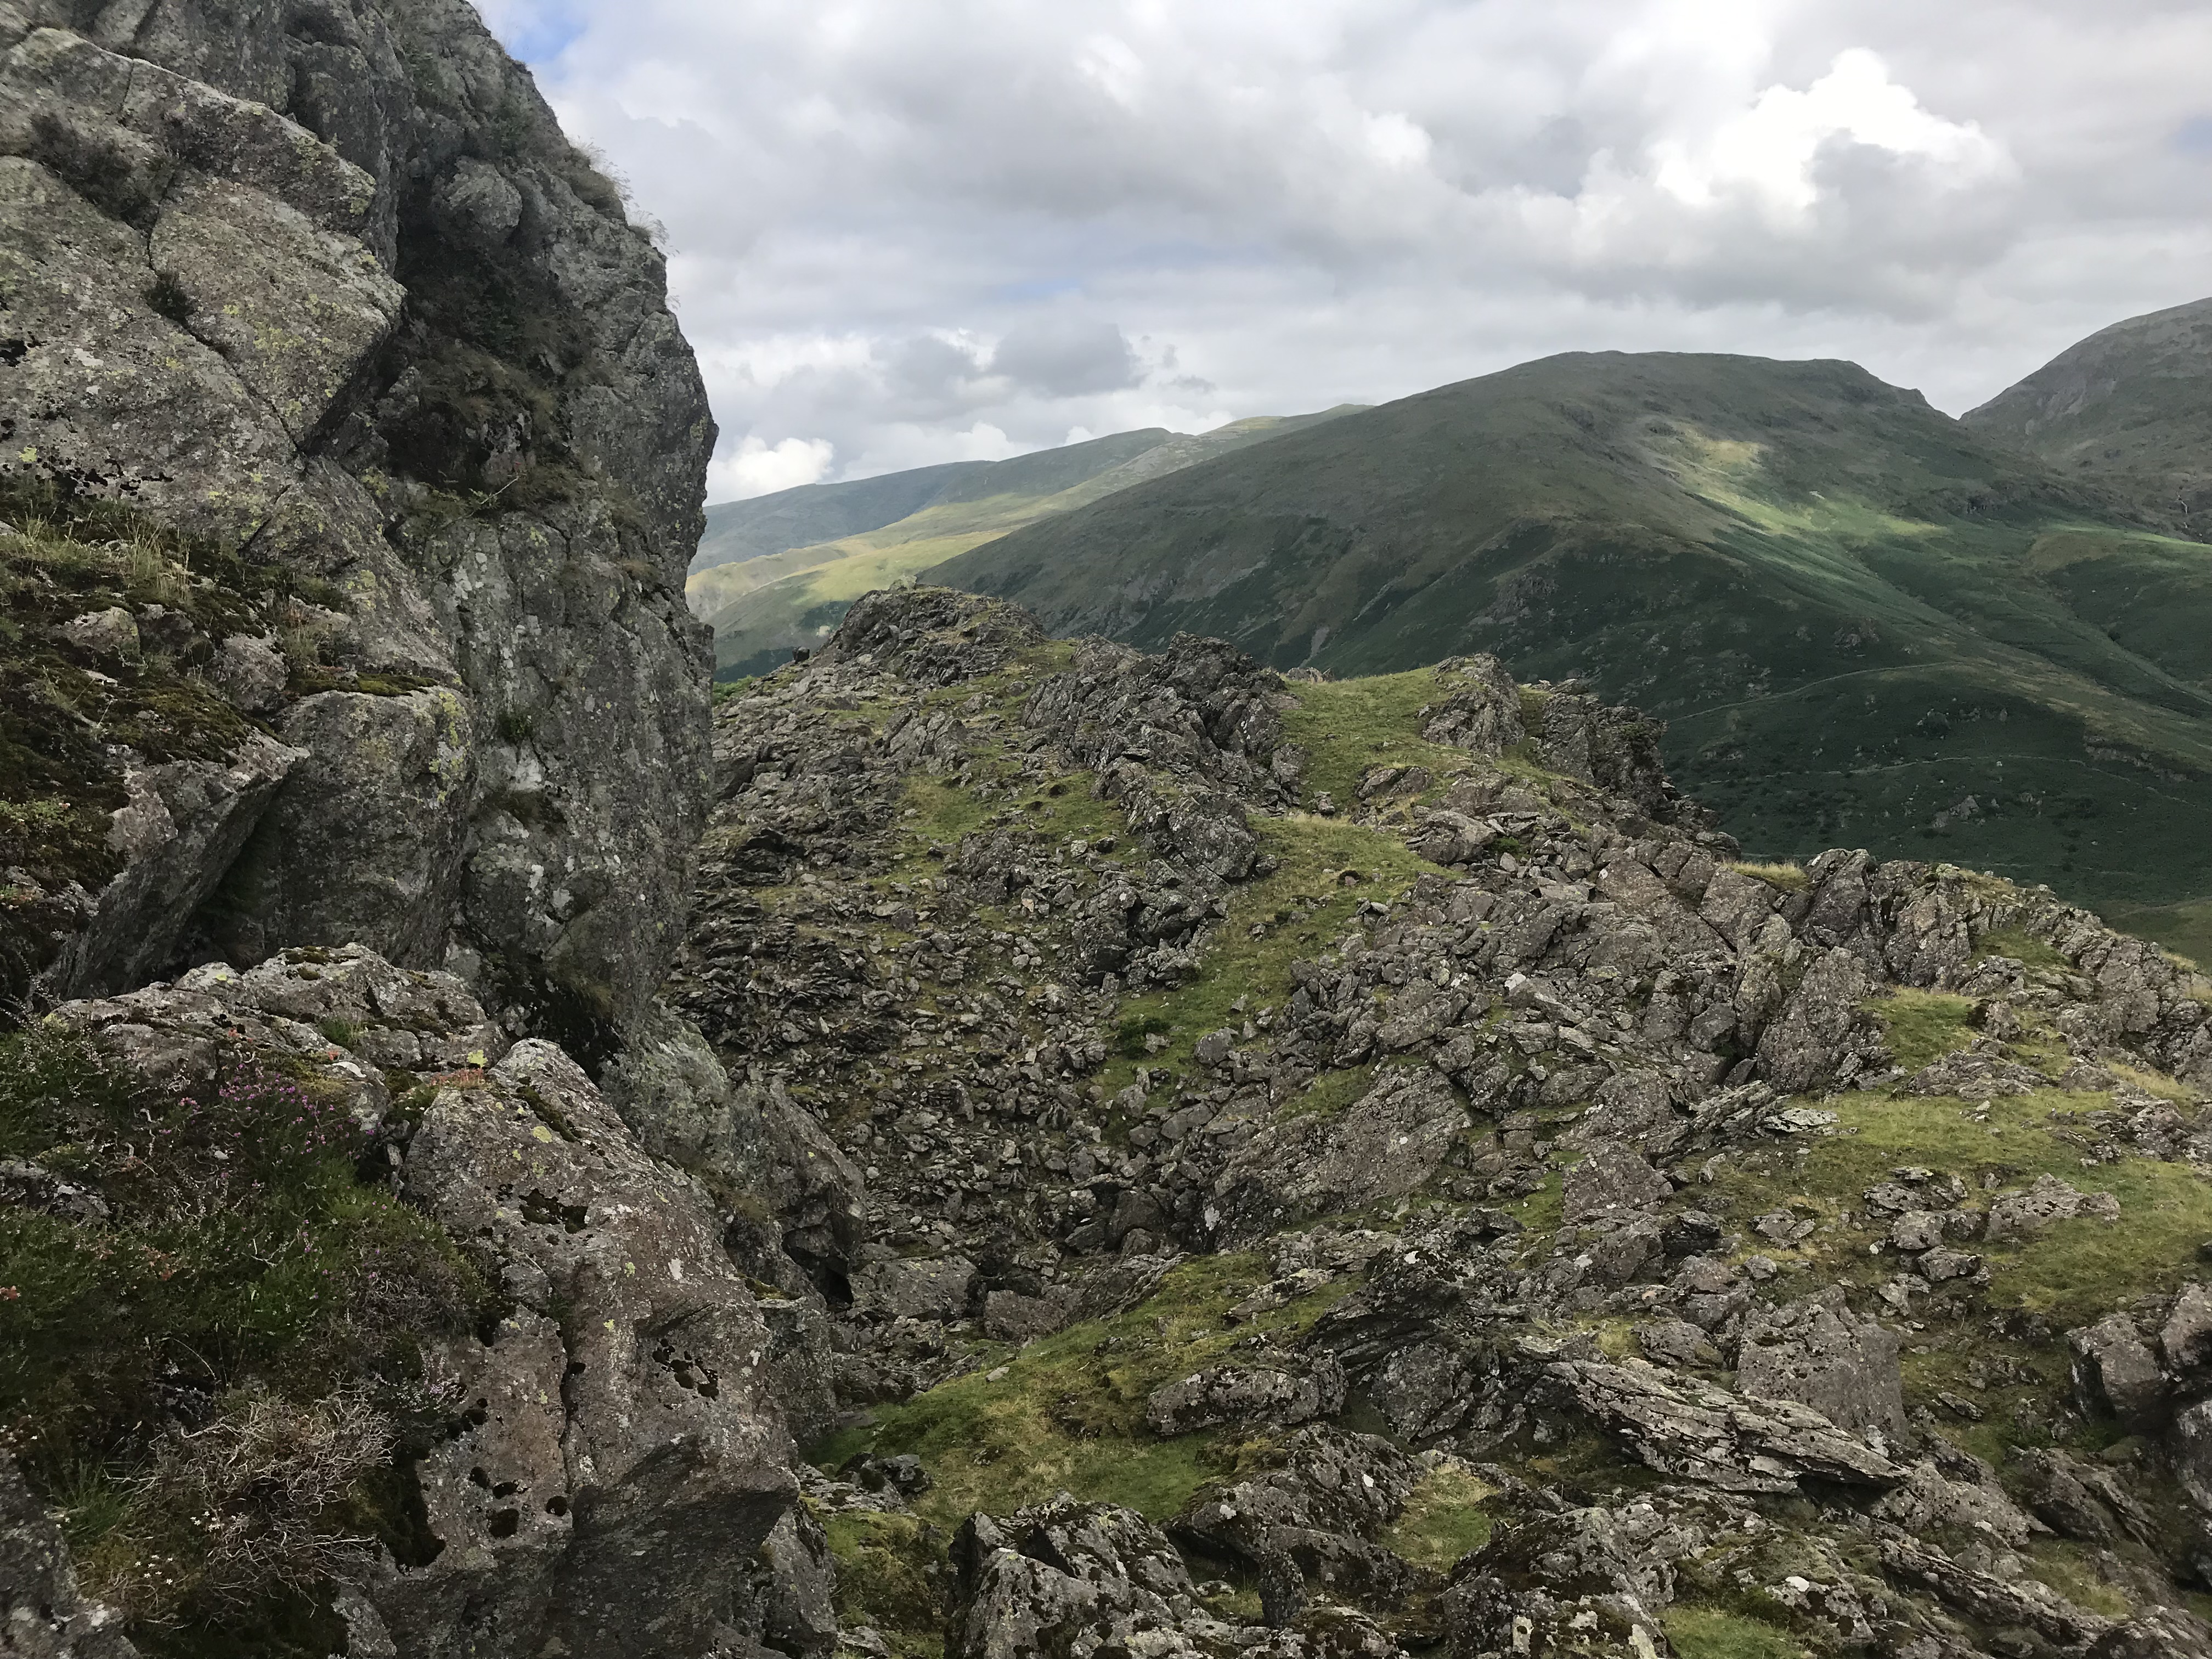
The ridge was narrow, and each twist of the path revealed new vistas on the right and left. We were ascending, of course, and could see more of the surrounding landscape from each intermediate peak.
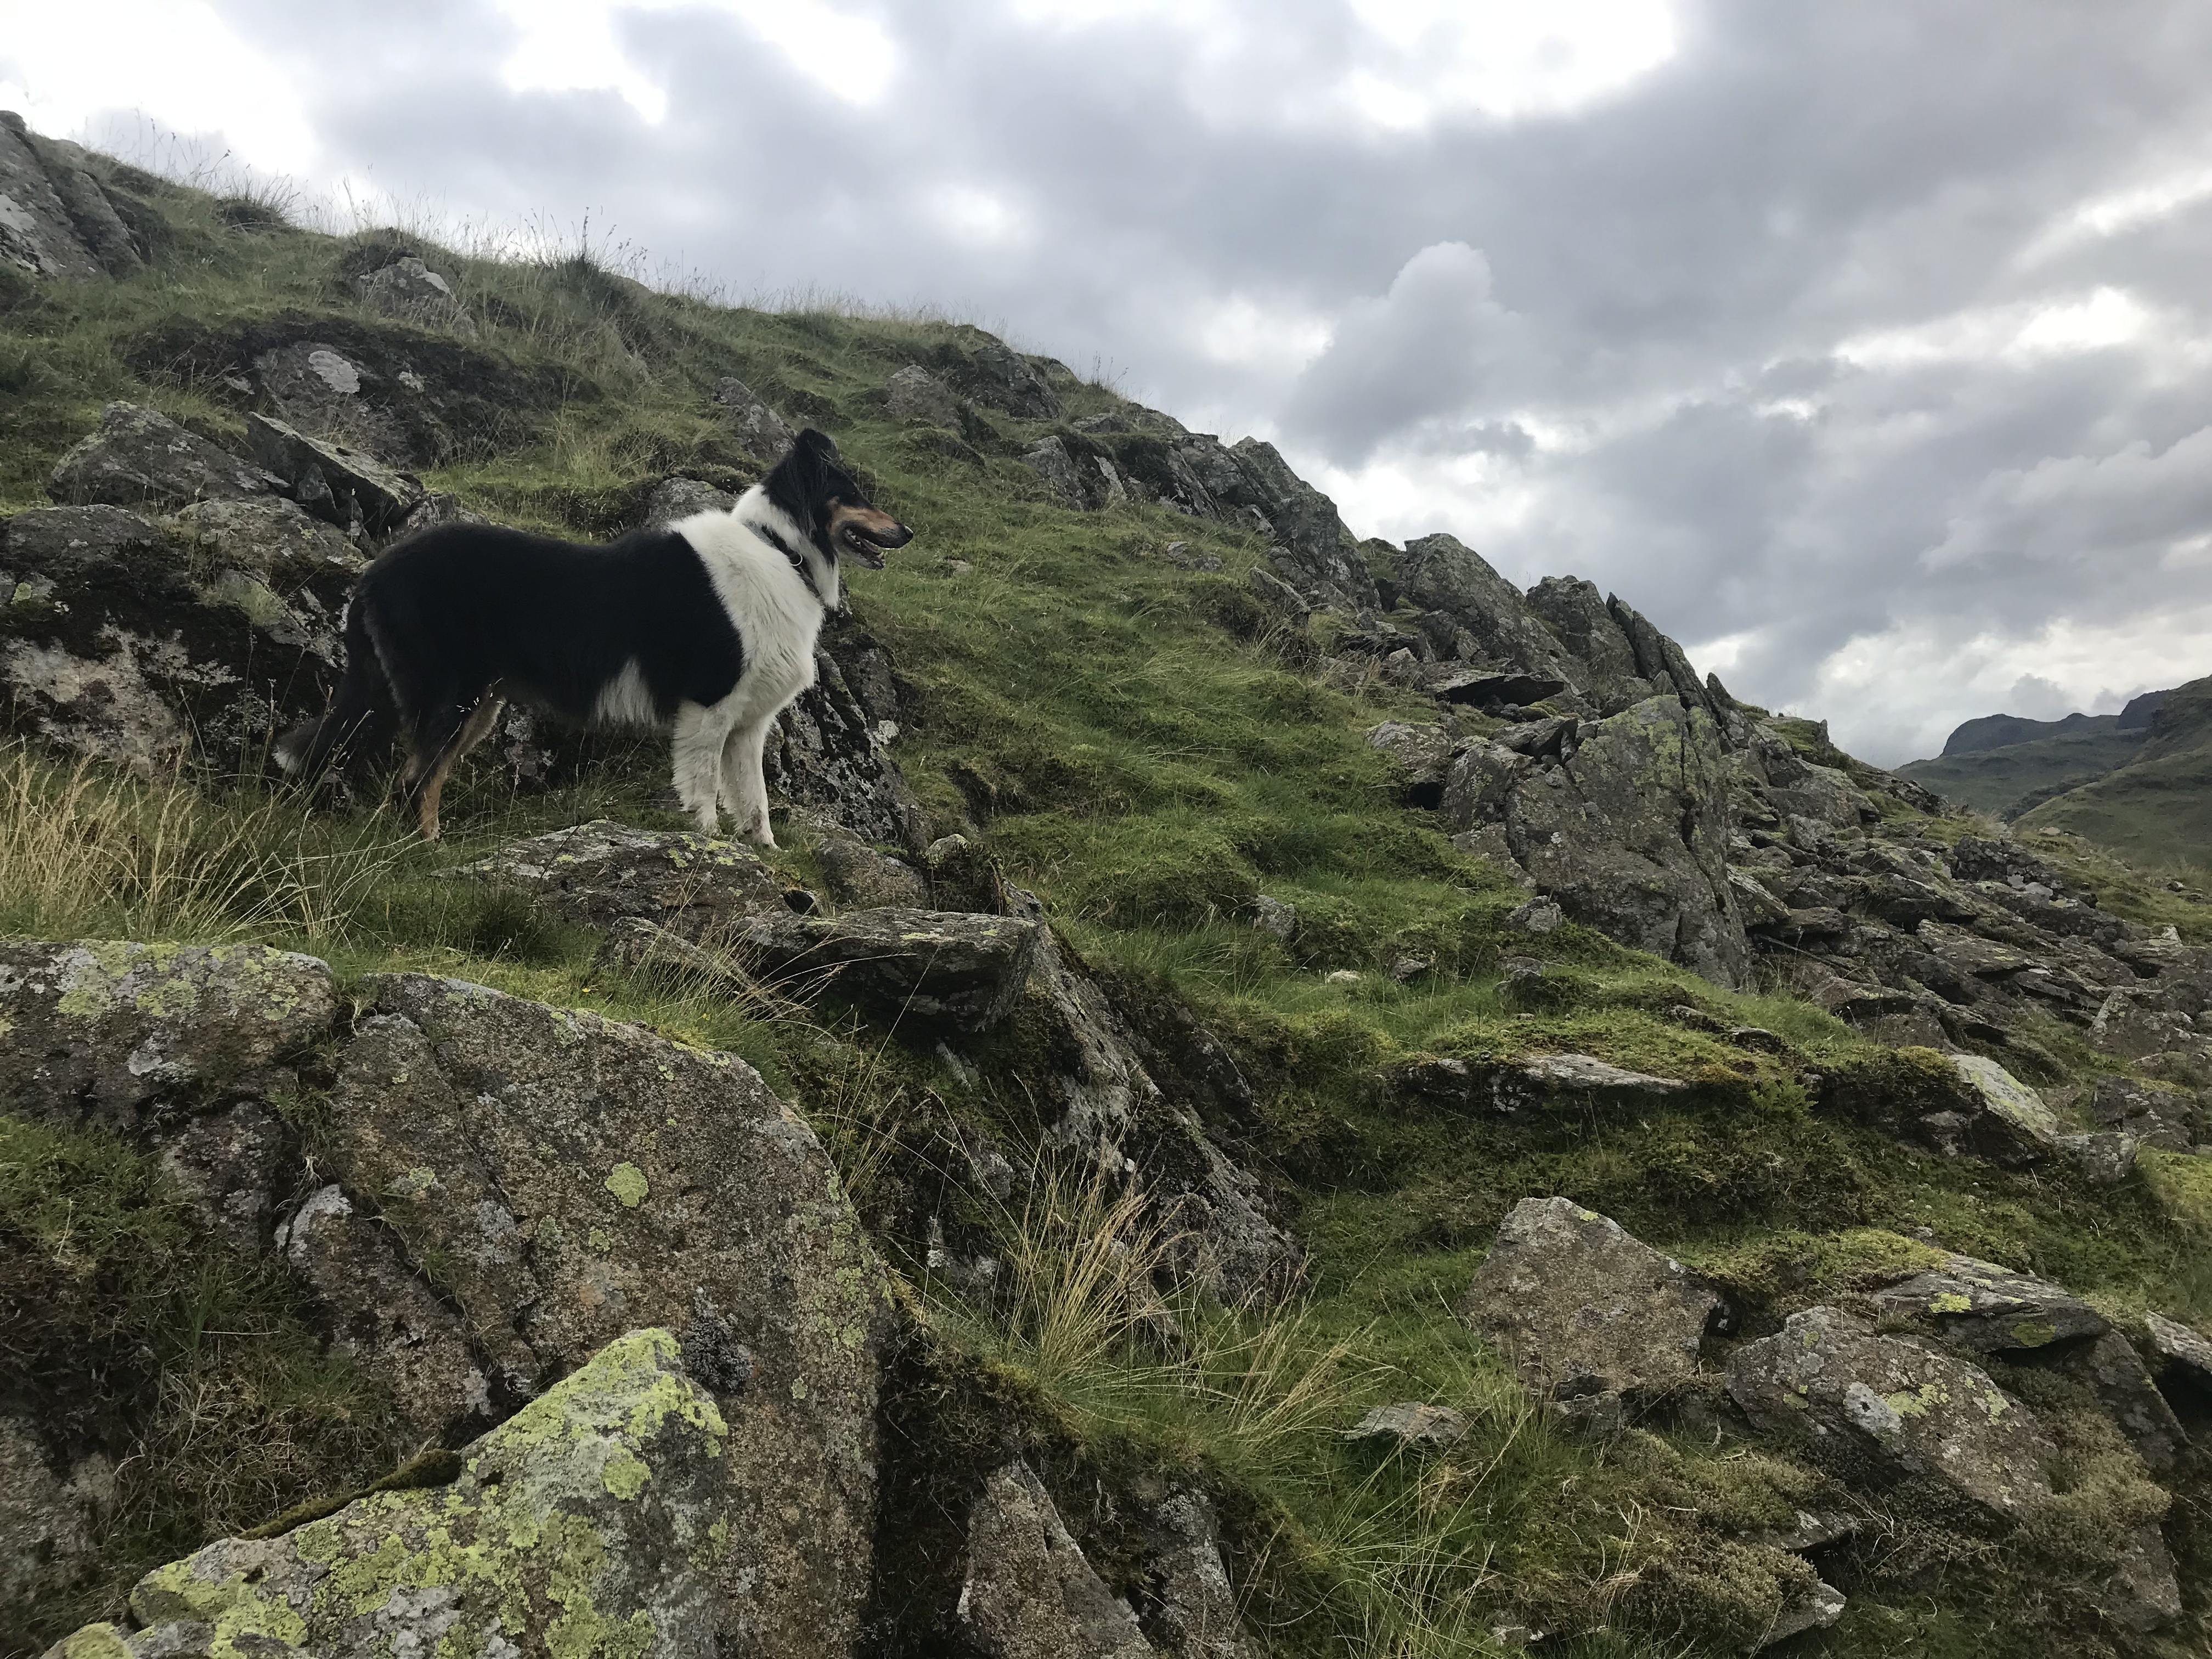
It was only when we realised that we had passed Gibson’s Knot (see schematic) without noticing that we became aware of how fatigued we were becoming. Our tireless Collie, Tess, was doing her best to help us – continually running from the back of her ‘pack’ to the front to keep the herd motivated to maintain their progress to market… a true ‘drover’. The photographer was often guilty of being some way behind the other three!
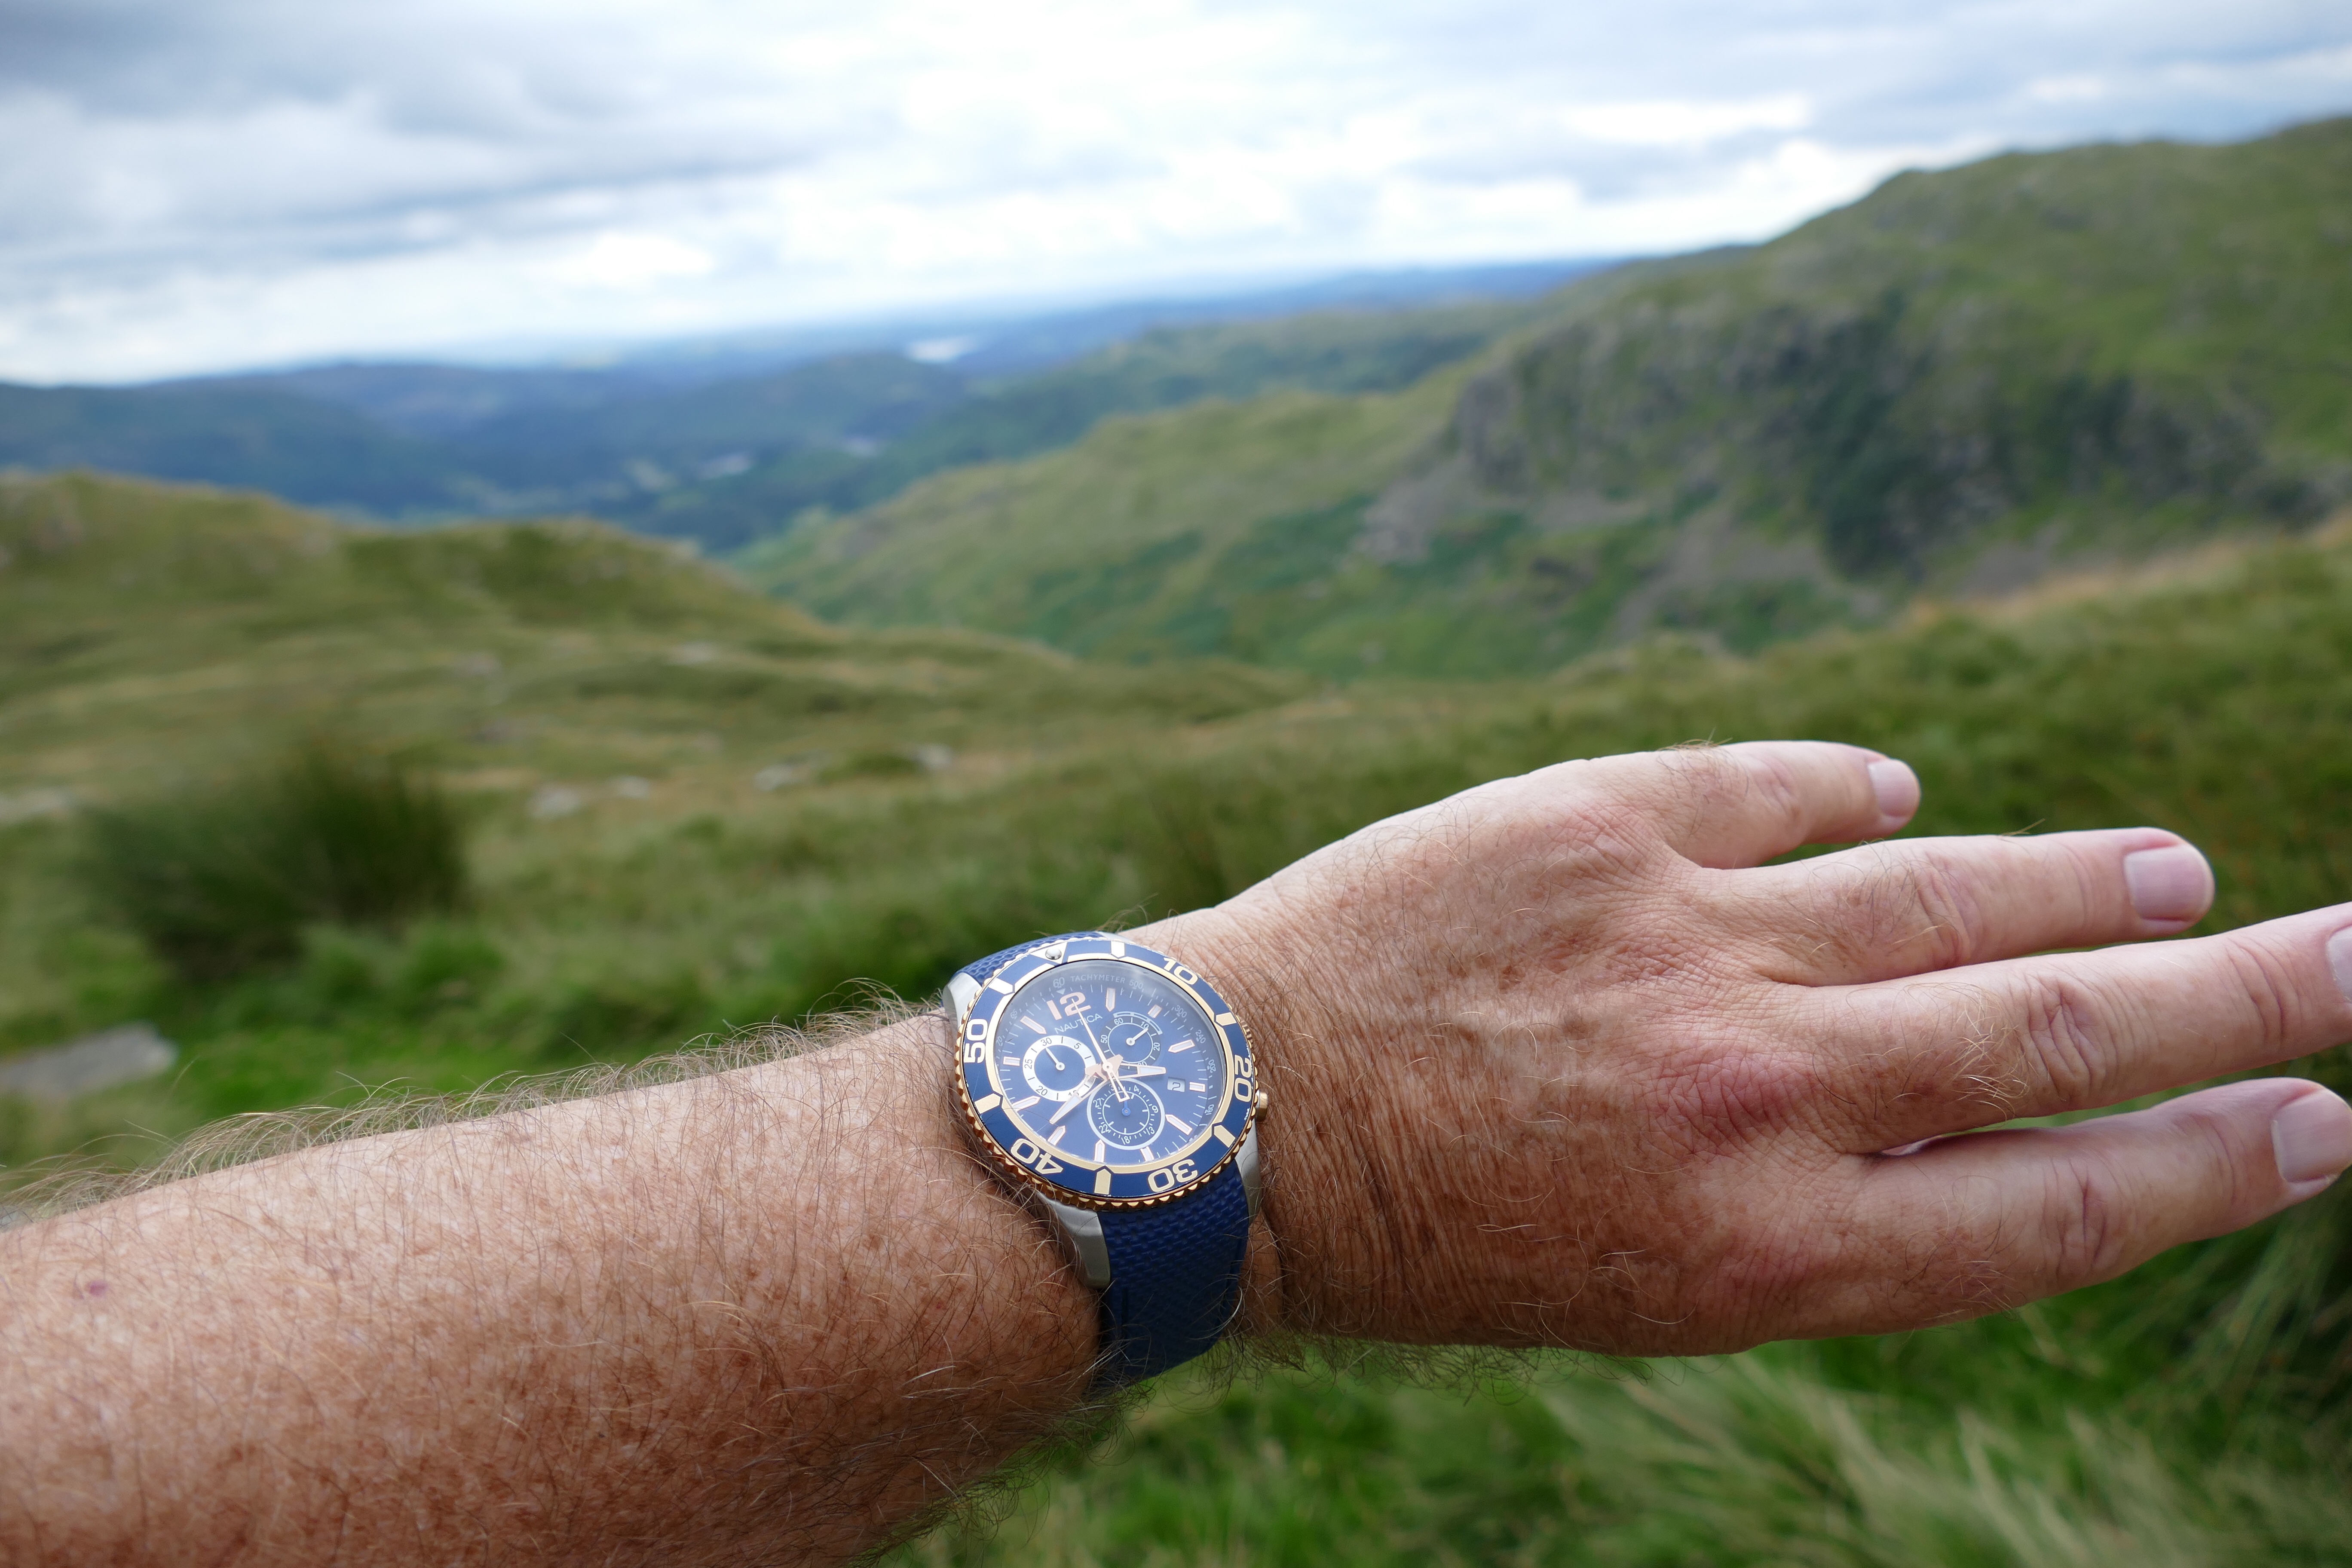
We took another break and reflected… It was 15:41. We had been walking since mid-morning. We had no choices left. Our only hope was to continue along the ridge. We looked at the diminishing water supplies and watched Jon search his backpack for more chocolate… worst of all, we were still at least an hour from the most northerly point of the valley; in other words, we were still walking away from Grasmere, the point where we started!
A slight panic tends to set in at such times. It pays to think laterally if only to clear the head. I found myself wondering if we could cross the high wall of the glacial Corrie to our north and hitch a lift from a passing 555 Bus, which would take us back to Grasmere… clearly ludicrous, as there were no paths marked on the map.
Then, ahead of me, I saw Kathy turn herself into an aeroplane and try to fly… so I wasn’t alone. Could we camp out on the mountain, Bernie might have been thinking. I could tell by her knitted brows she was worried…
Only Jon seemed calm. And he was studying his map, intently. He looked up and smiled.
“I think I’ve got some good news,” he said. We moved closer, following his pointing finger…
To be concluded in Part Three
Other parts in this series:
Part One, This is Part Two
©Copyright Stephen Tanham
Stephen Tanham is a Director of the Silent Eye School of Consciousness, a not-for-profit teaching school of modern mysticism that helps people find a personal path to a deeper place within their internal and external lives.
The Silent Eye provides home-based, practical courses which are low-cost and personally supervised. The course materials and corresponding supervision are provided month by month without further commitment.
Steve’s personal blog, Sun in Gemini, is at stevetanham.wordpress.com.


")


Pingback: Above the Lion and the Lamb (Part Two) ~ Steve Tanham | Sue Vincent's Daily Echo
Thank you, Sue
LikeLike
I’ve always felt that ridge is longer than it looks on the map. Superb walking though!
LikeLiked by 2 people
Definitely becoming a truly suspenseful trek, but then the best adventures often start out from a totally miscalculated direction. I don’t know that I could have continued physically, but thank heavens I get to experience this from my comfy desk chair . . .
LikeLiked by 1 person
That’s the idea of the blog, Anne 😊
LikeLike
Yes, Michael, I agree. It is long, though…
LikeLike
Reblogged this on Campbells World.
LikeLiked by 1 person
Thank you, Patty 😎
LikeLike
Pingback: Above the Lion and the Lamb (part three – final) – Sun in Gemini